How to lead climb
A few simple steps will take you to many high places.
What is lead climbing?
In most cases there is only one practical way to the top of an outdoor climbing route: up. In some cases, you can hike or easily climb up to the top of a wall, but relying on that will limit you. So, here’s what you need to do to lead climb.
Lead climbing is the process by which a climber places protection on a wall and connects rope to that protection as the rope is fed to them by their belayer.
Leading climbing requires specific skills and pieces of equipment.
For a list of the gear you’ll need, go here.
Dangers
Rock climbing in general comes with certain risks, especially falling. As opposed to falling while on top-rope in the gym, a fall on a lead climb is usually much longer because there will be more slack in your rope.
Always make sure you have a trusted, competent belayer who is ready to always catch you. Double check that all your gear is in good condition and functioning.
Getting started
Once you have your rope laid out, take one end and tie a stopper knot. In case you end up using all your rope, this will prevent it from coming out the other end of your belay device.
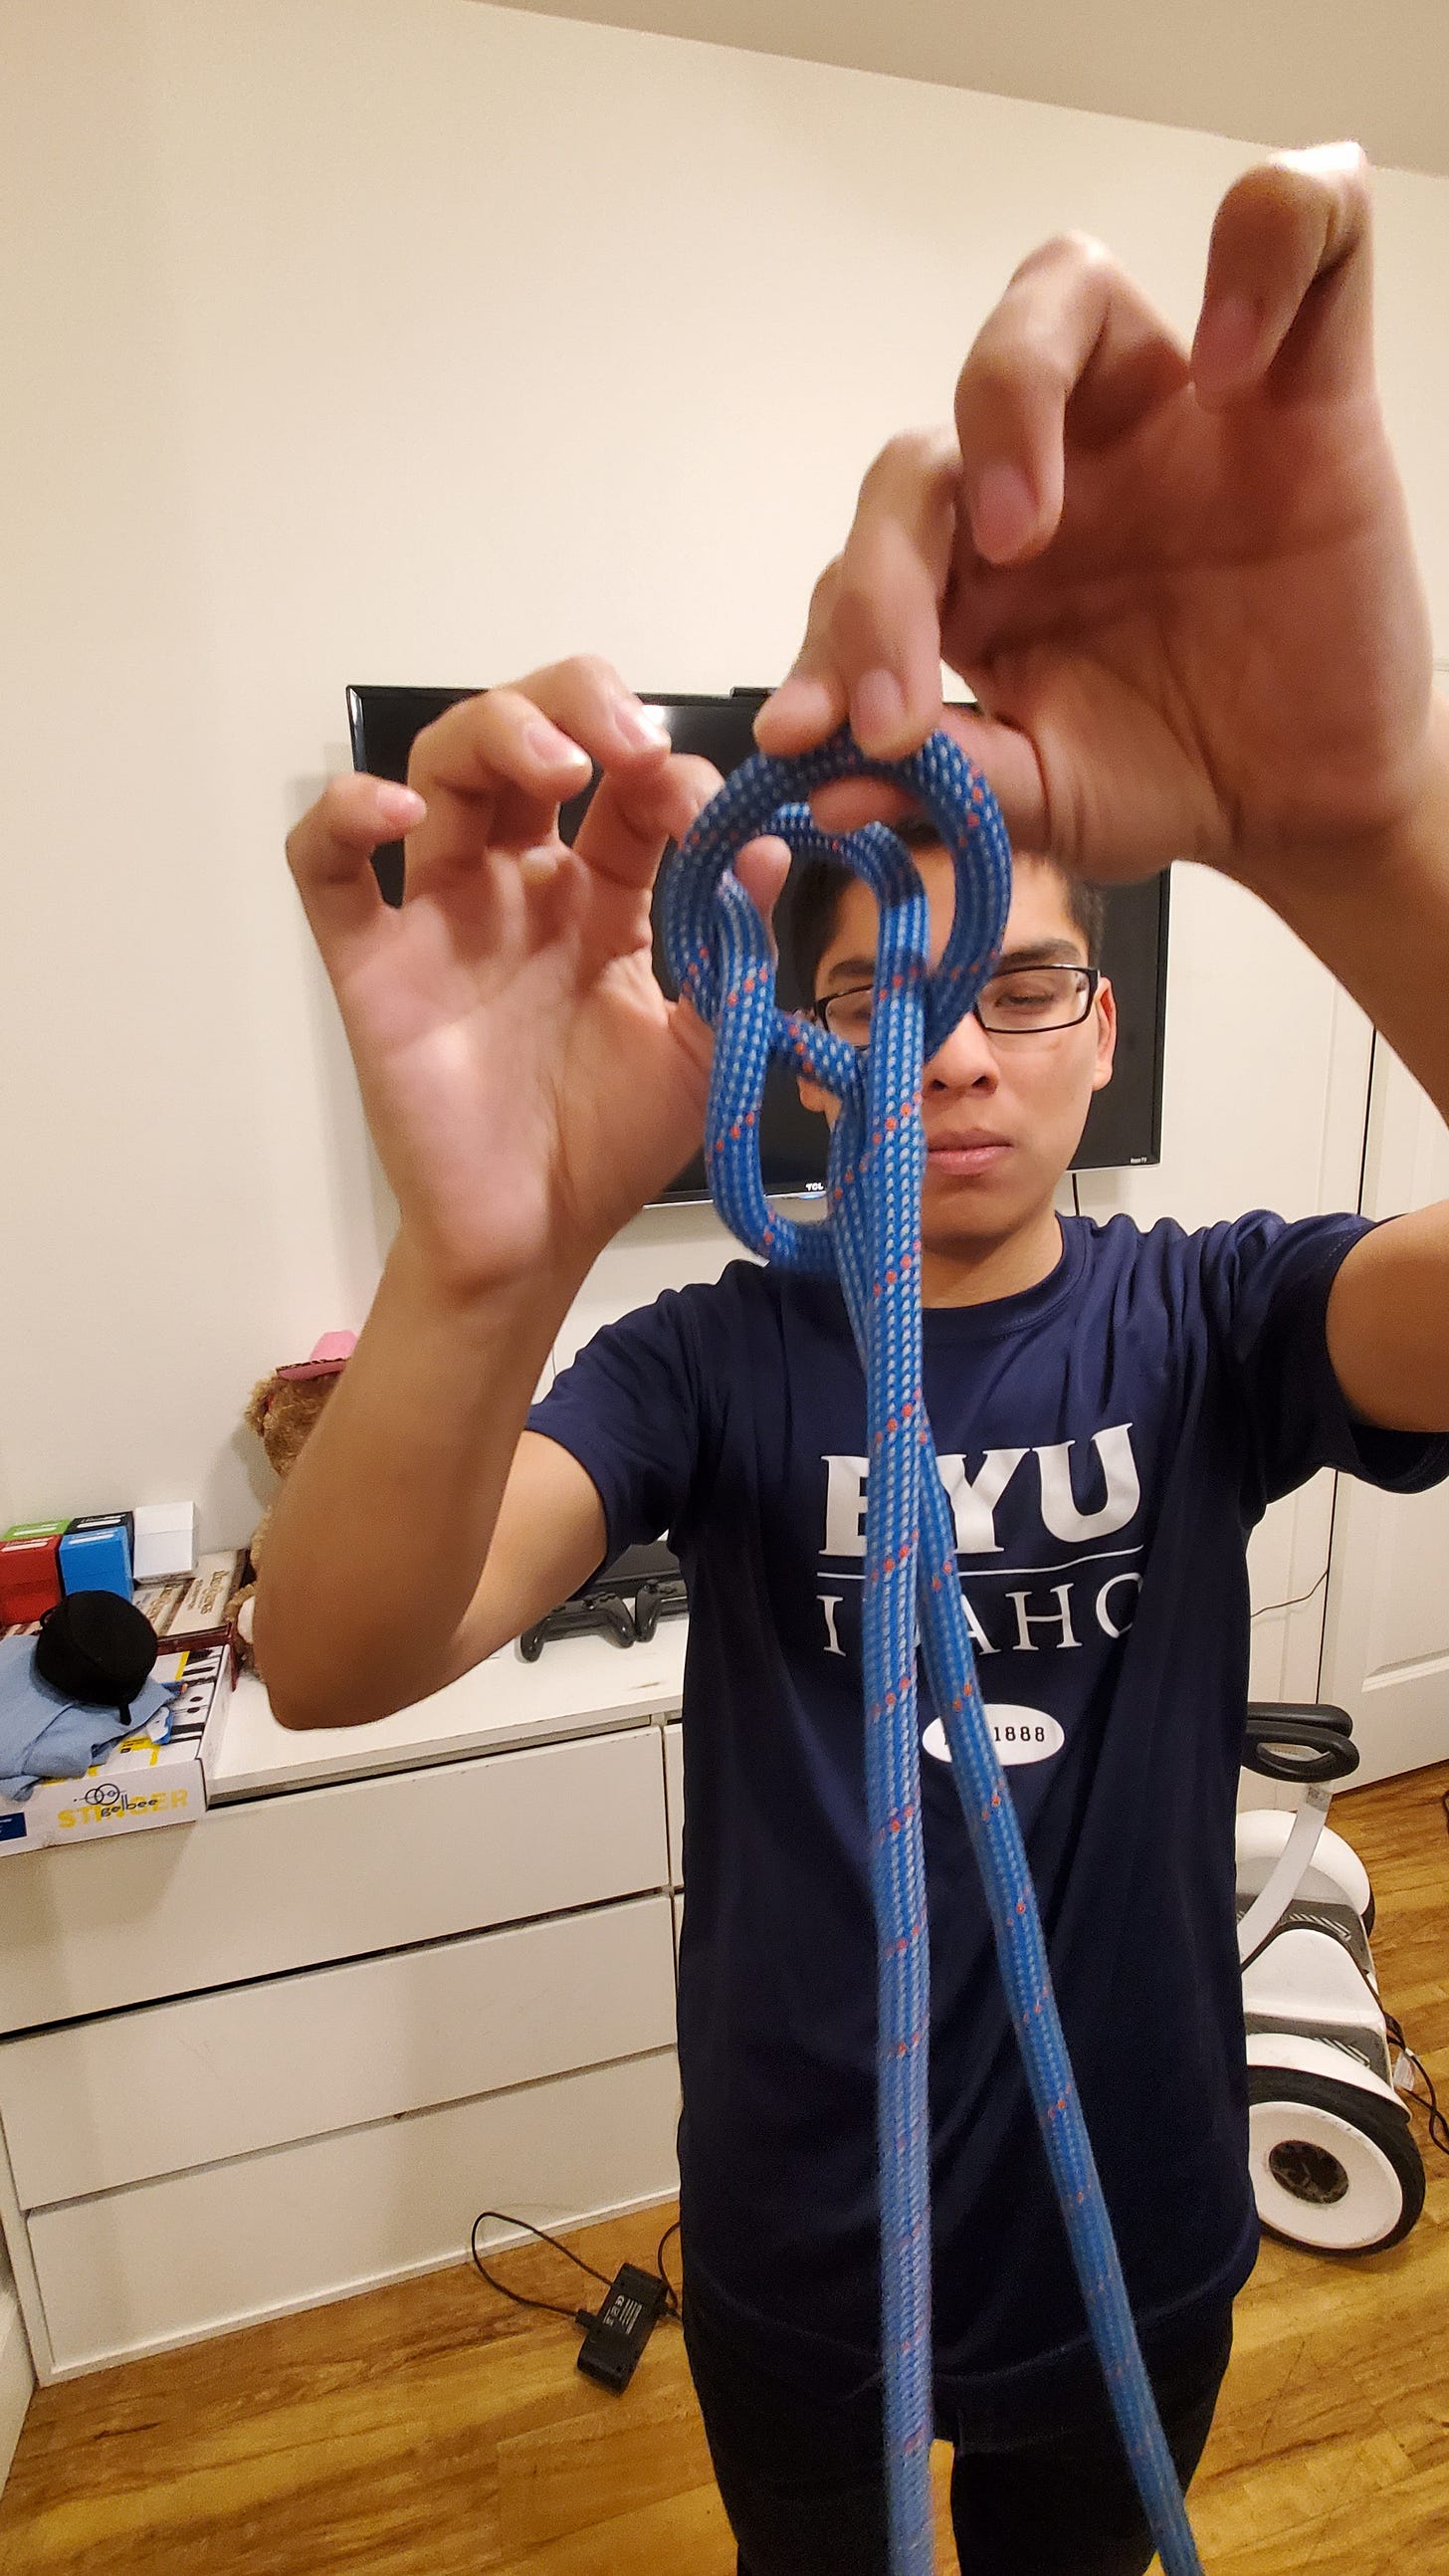
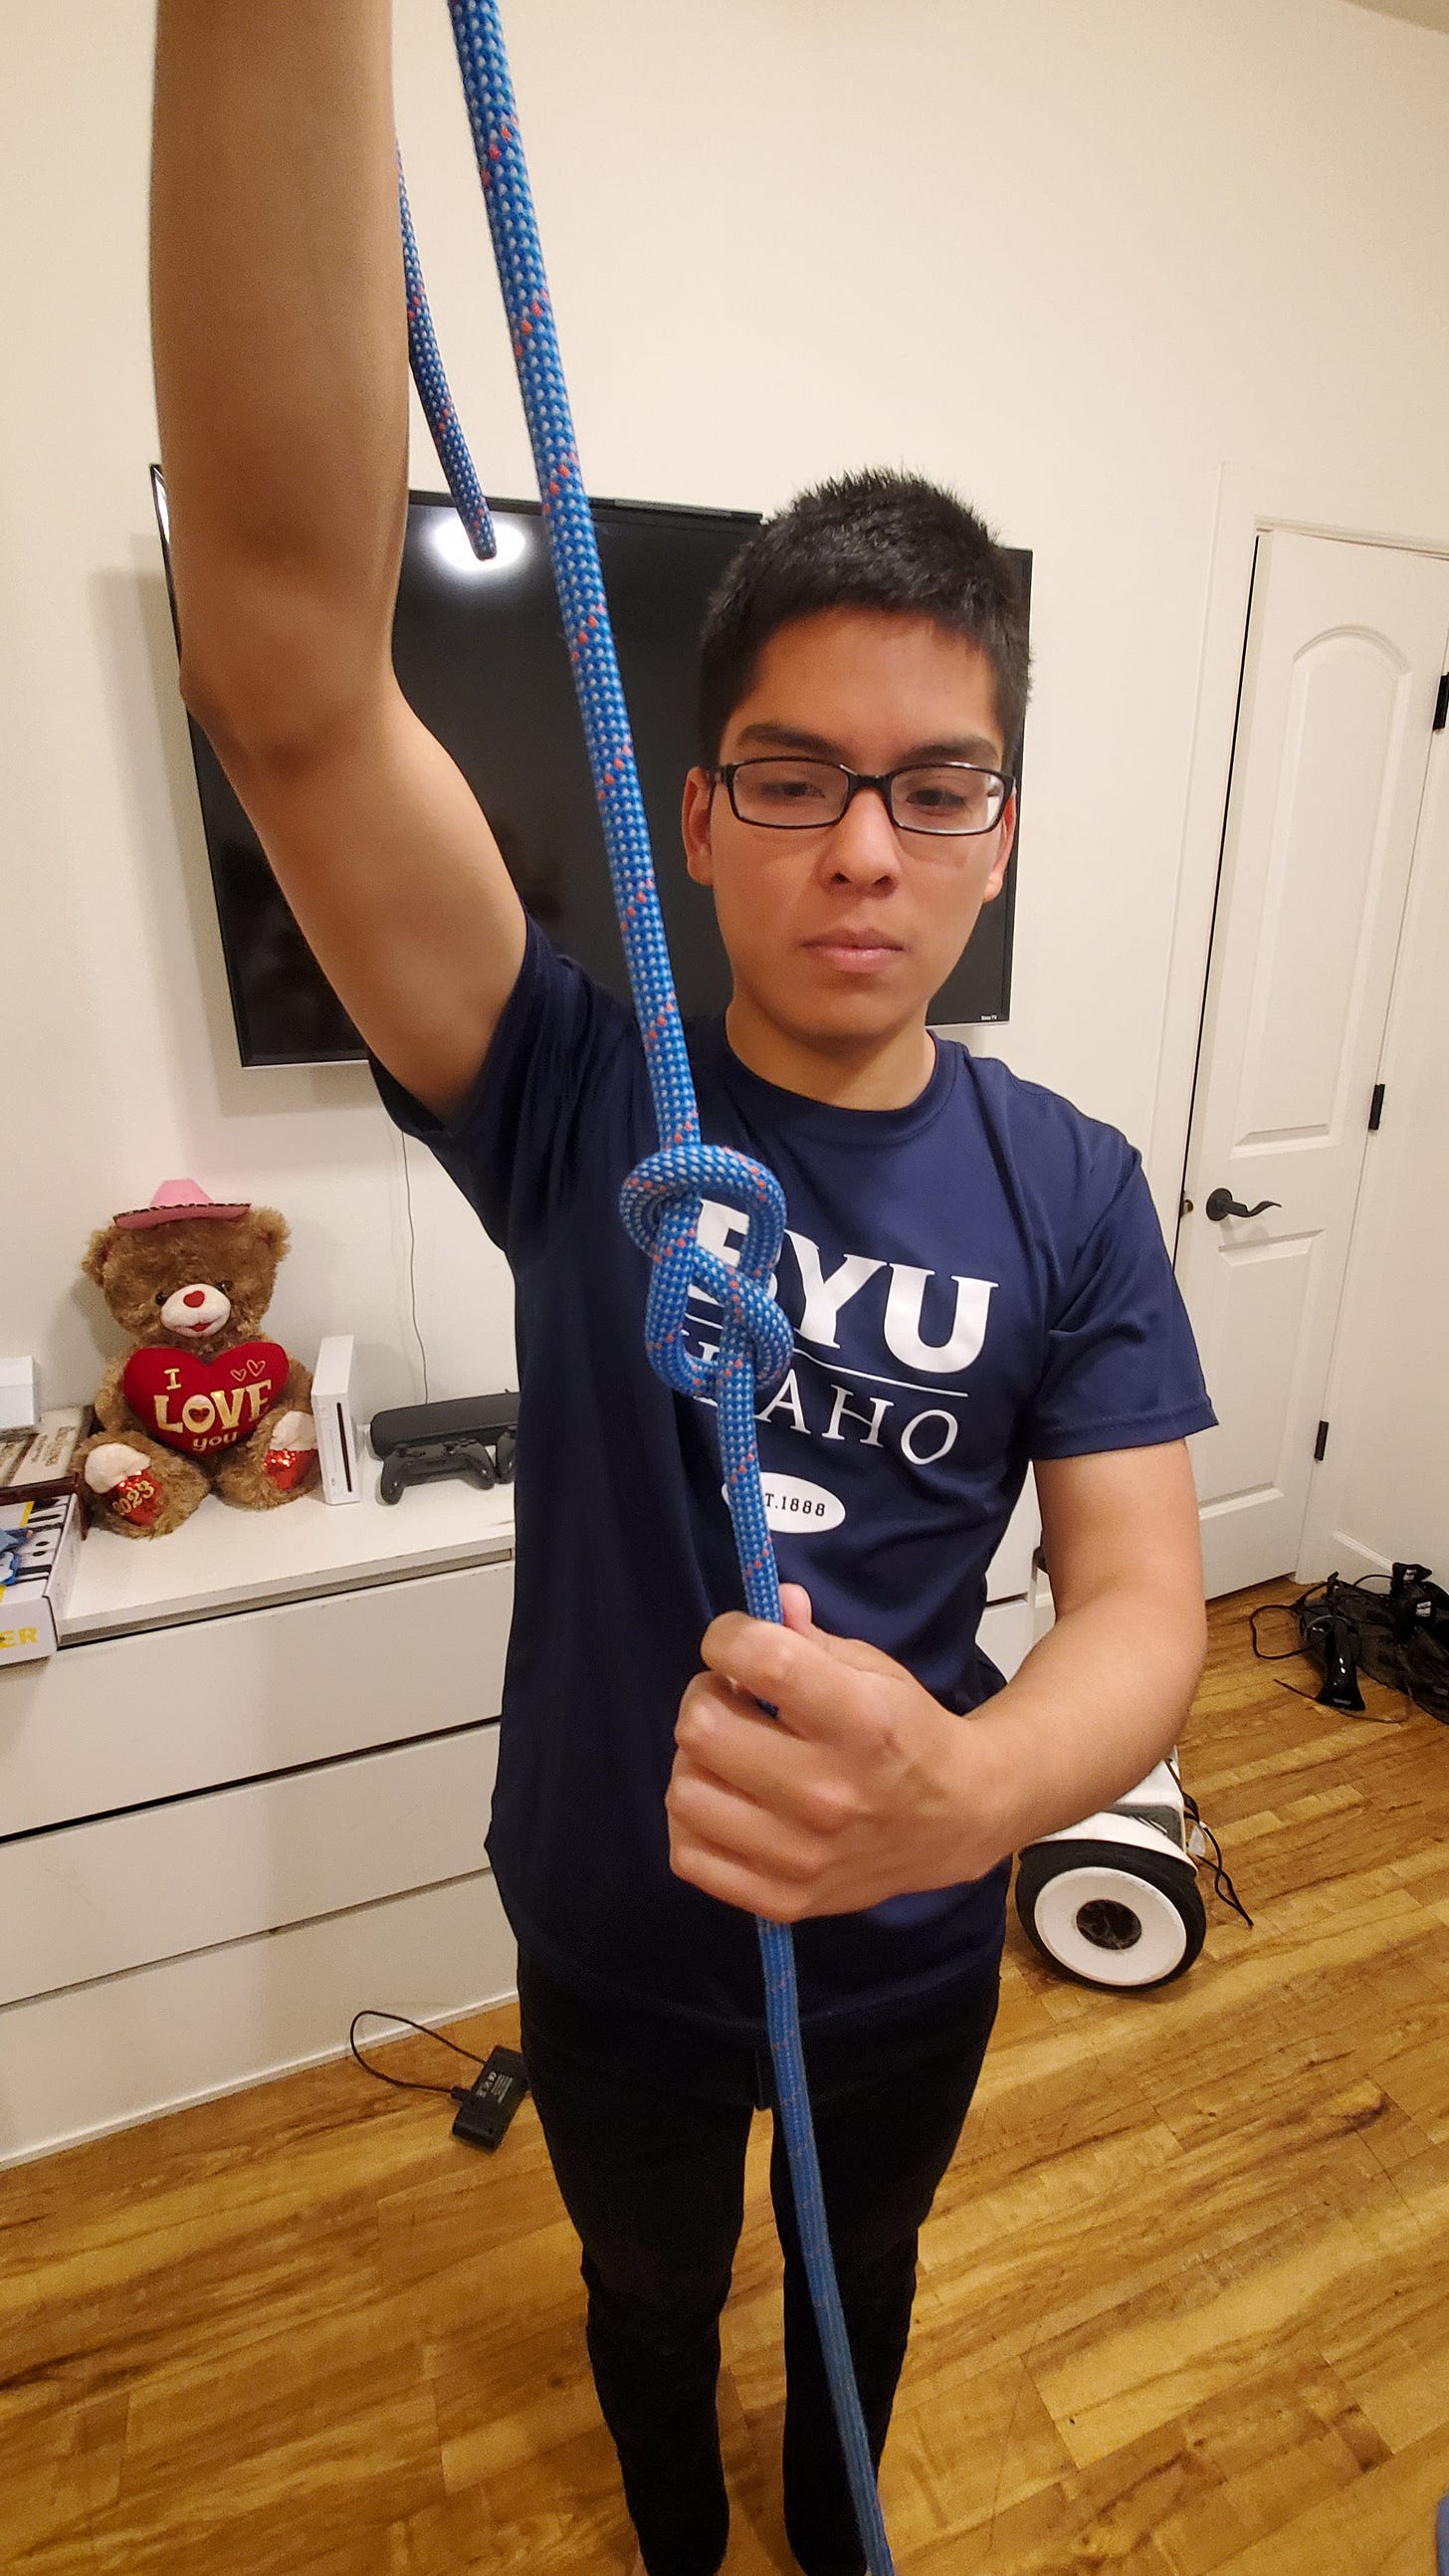
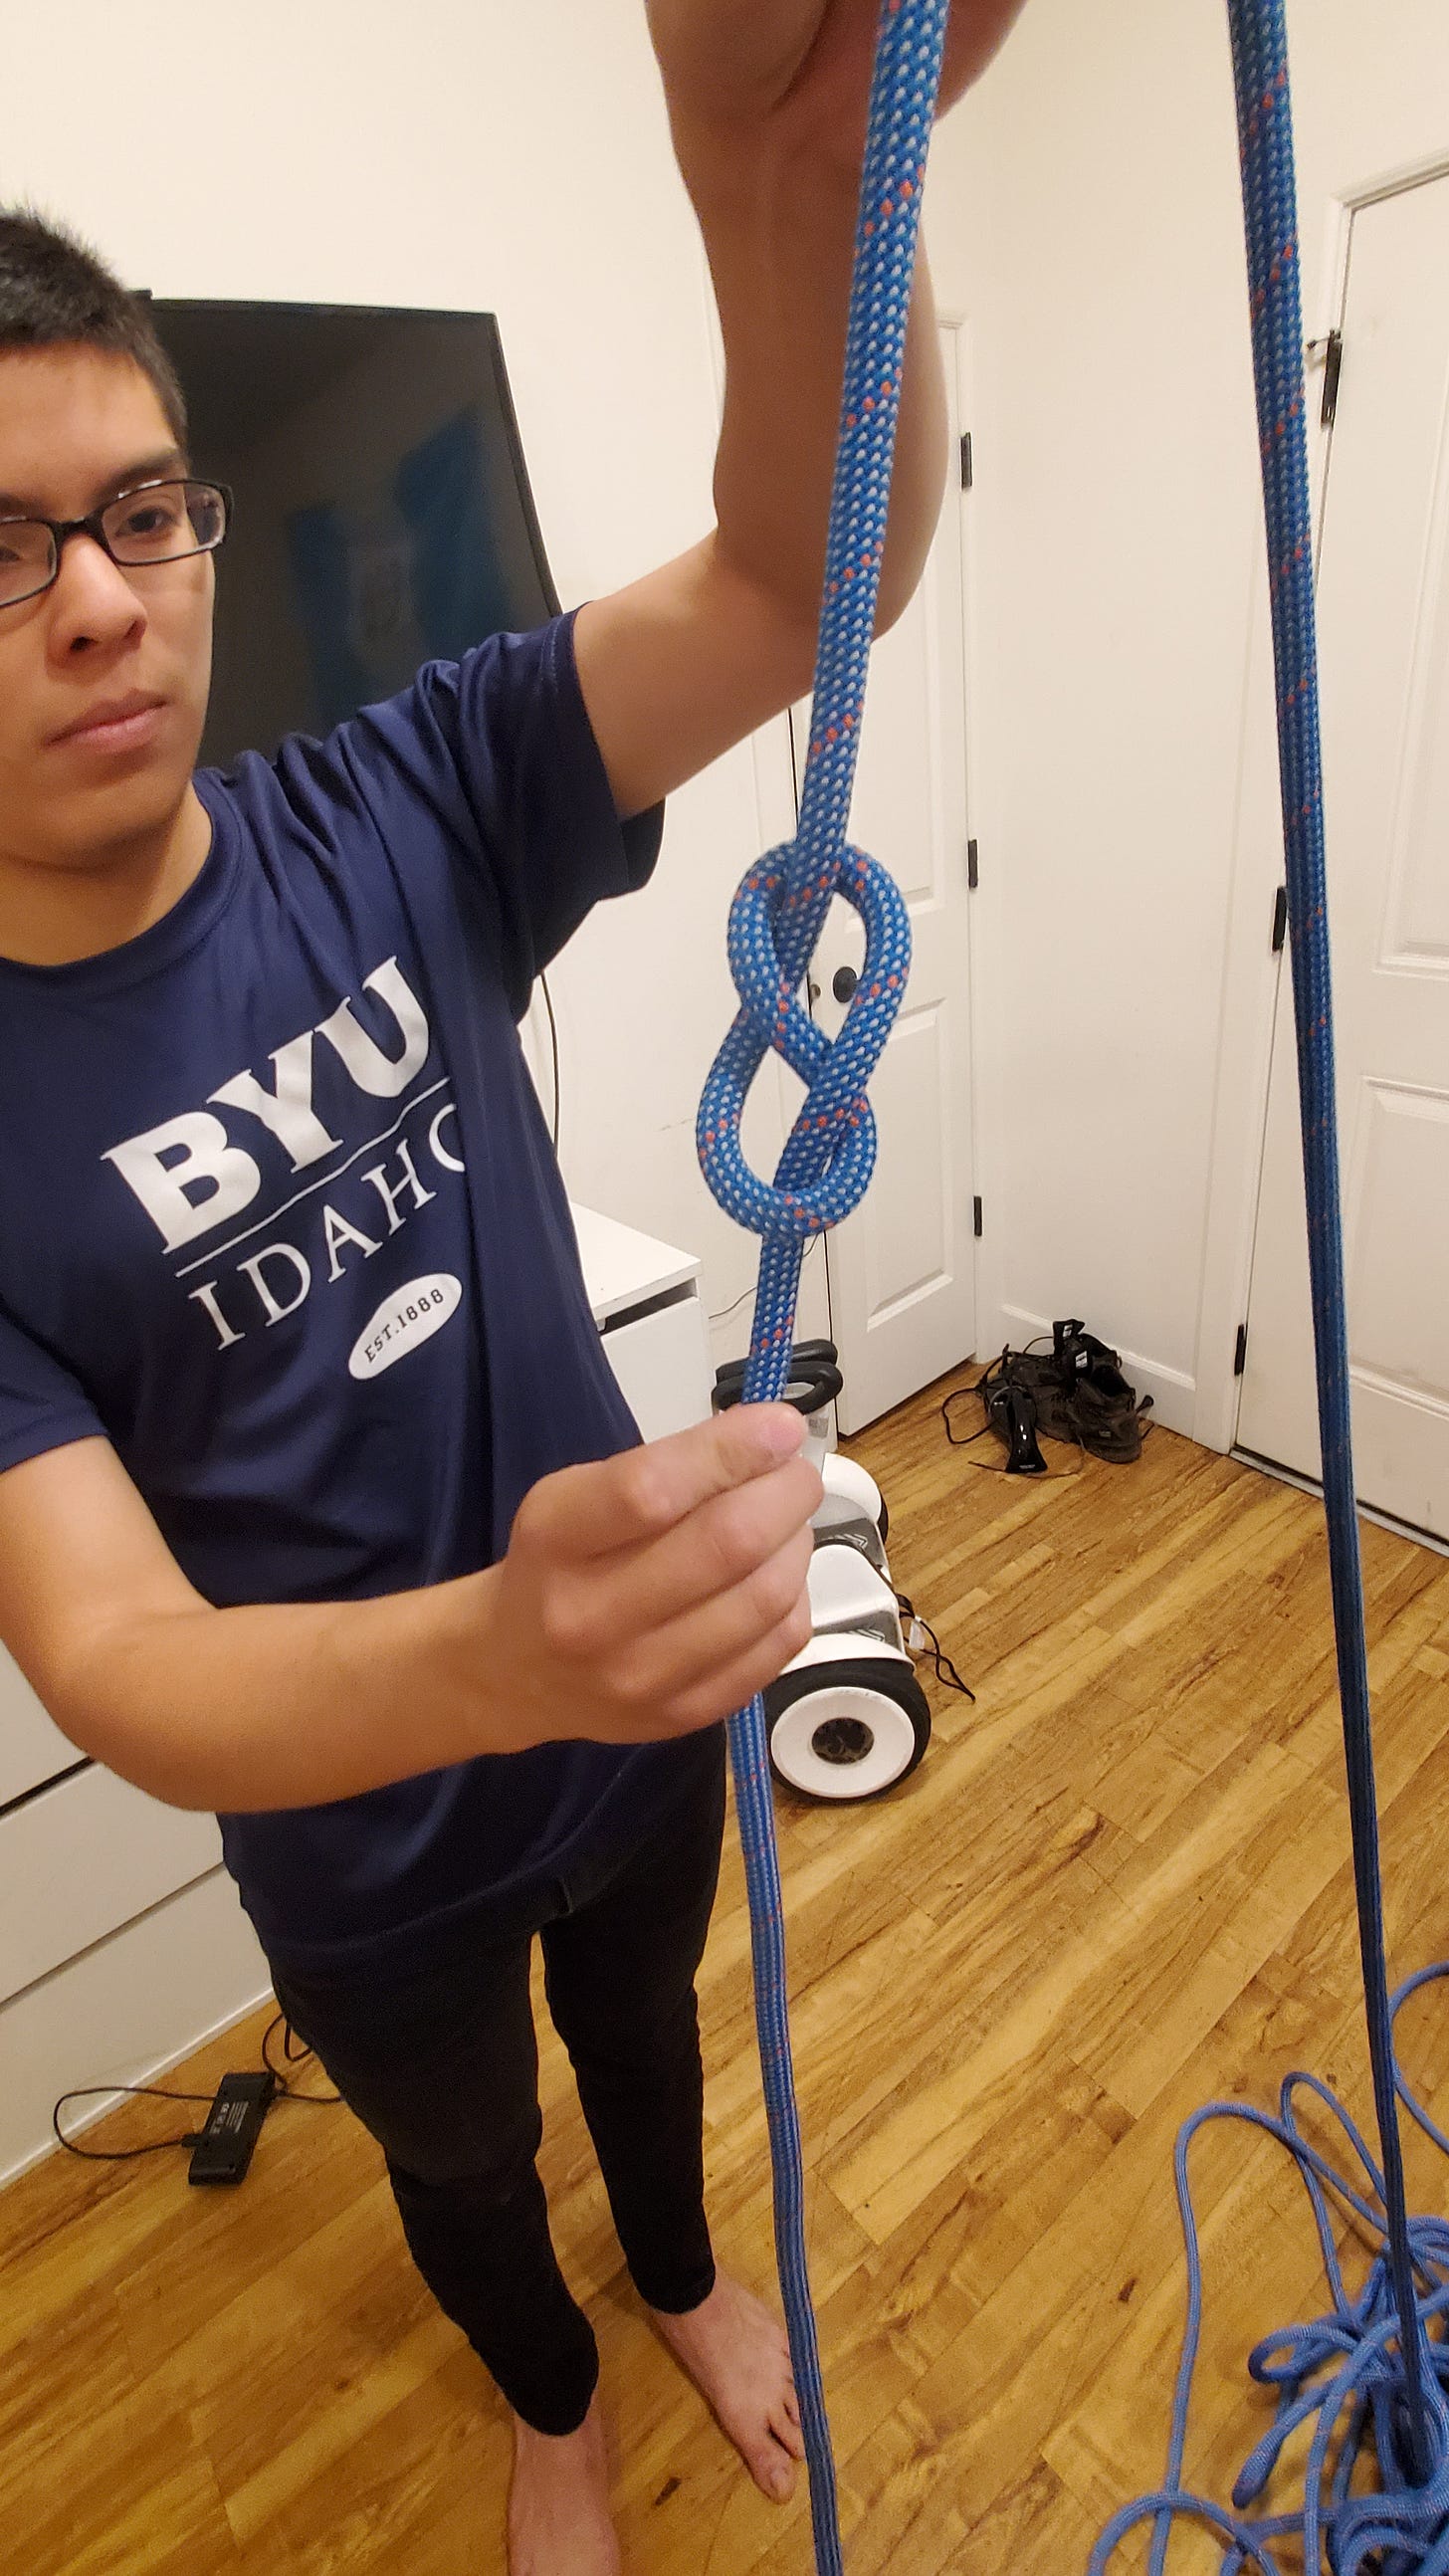
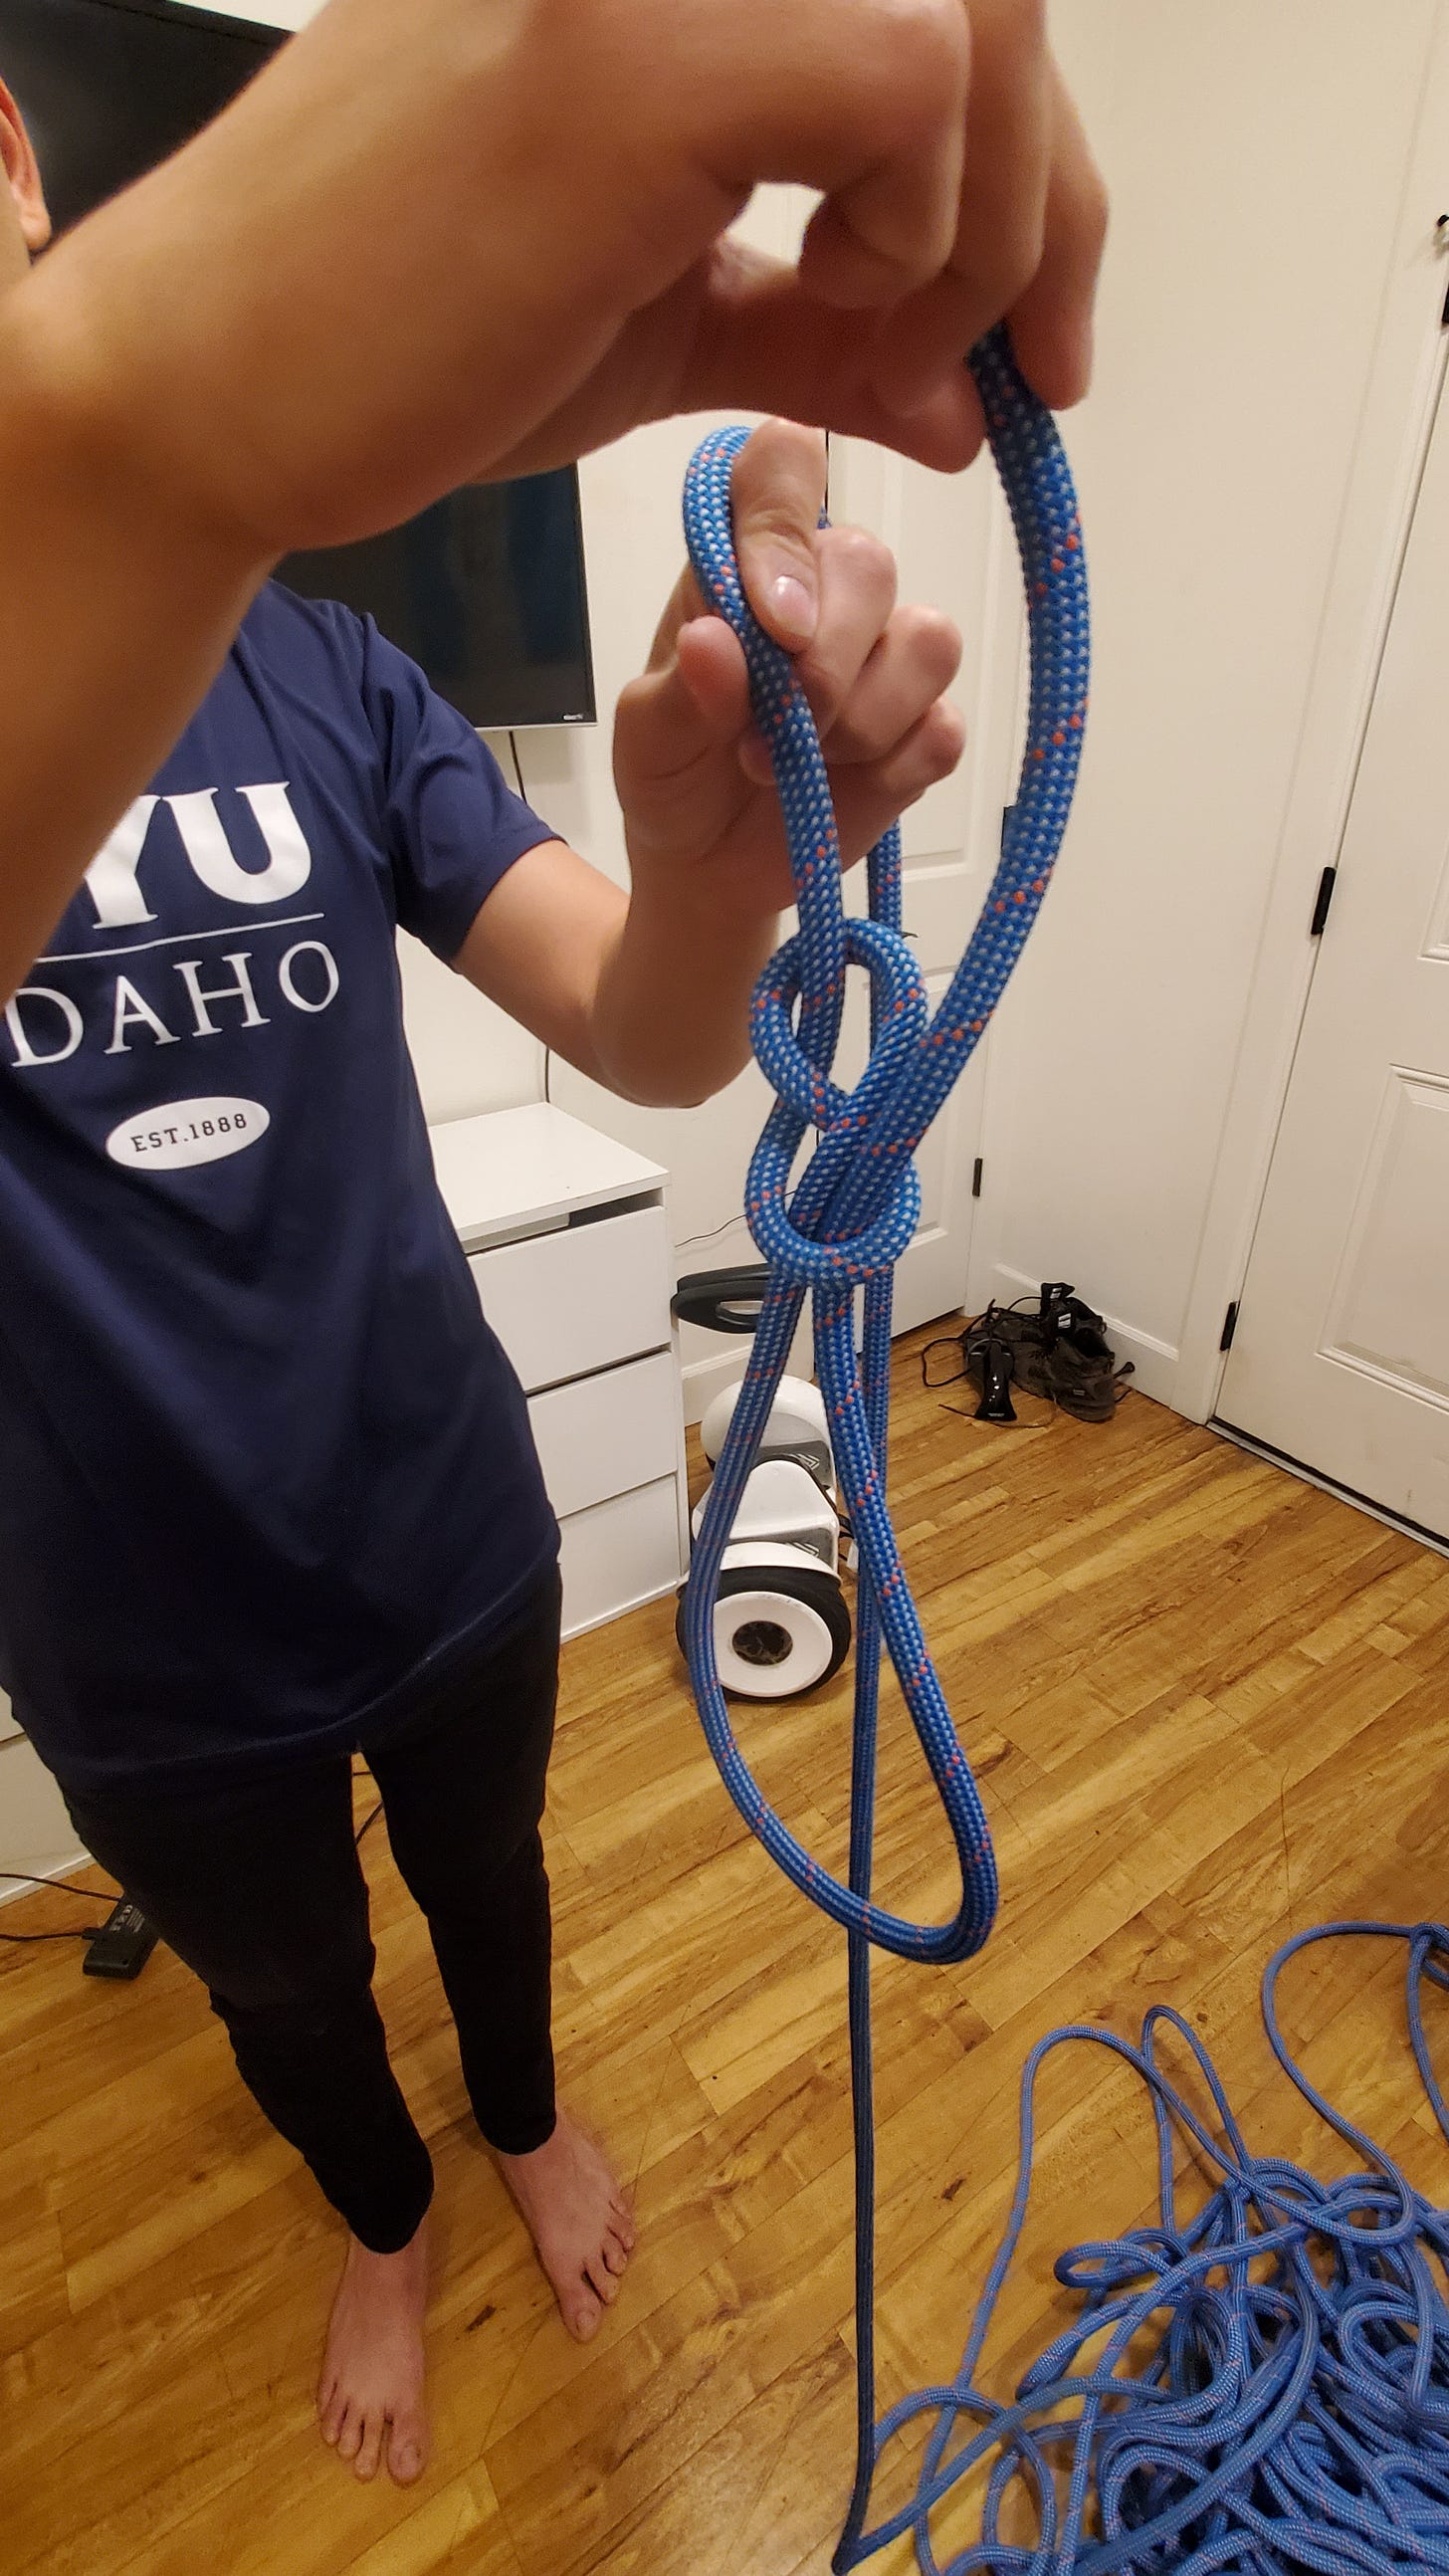
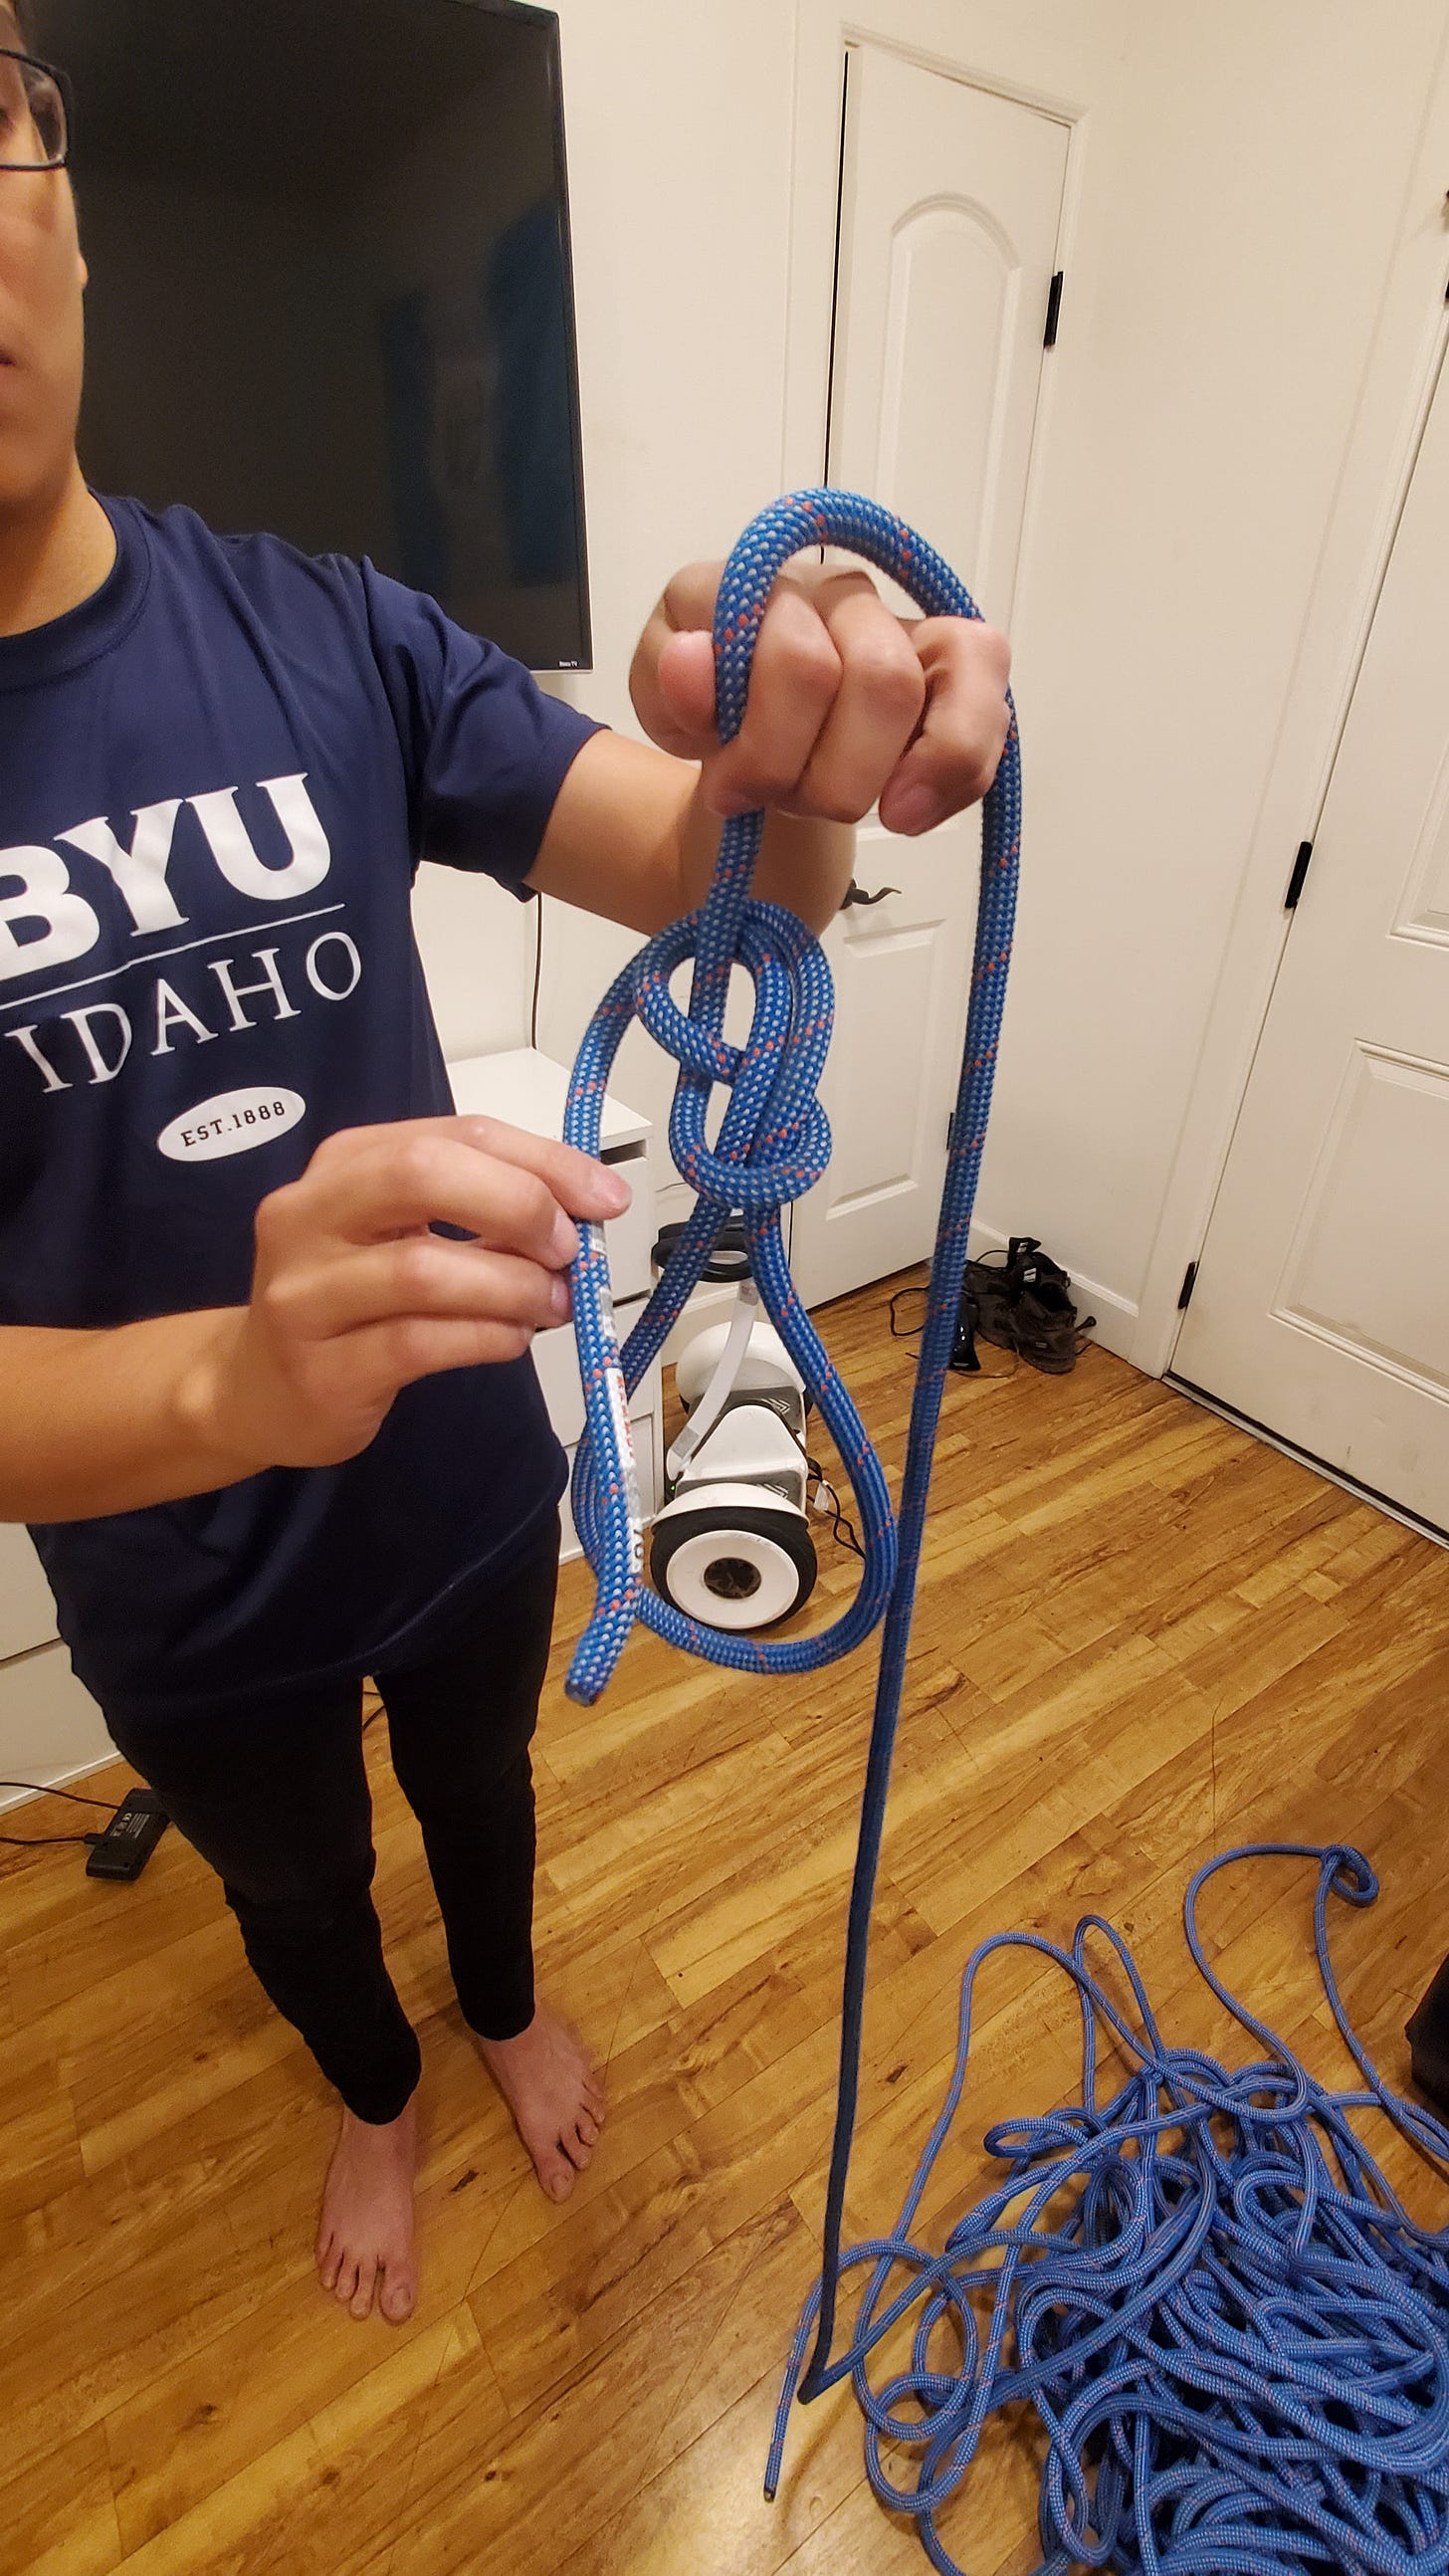
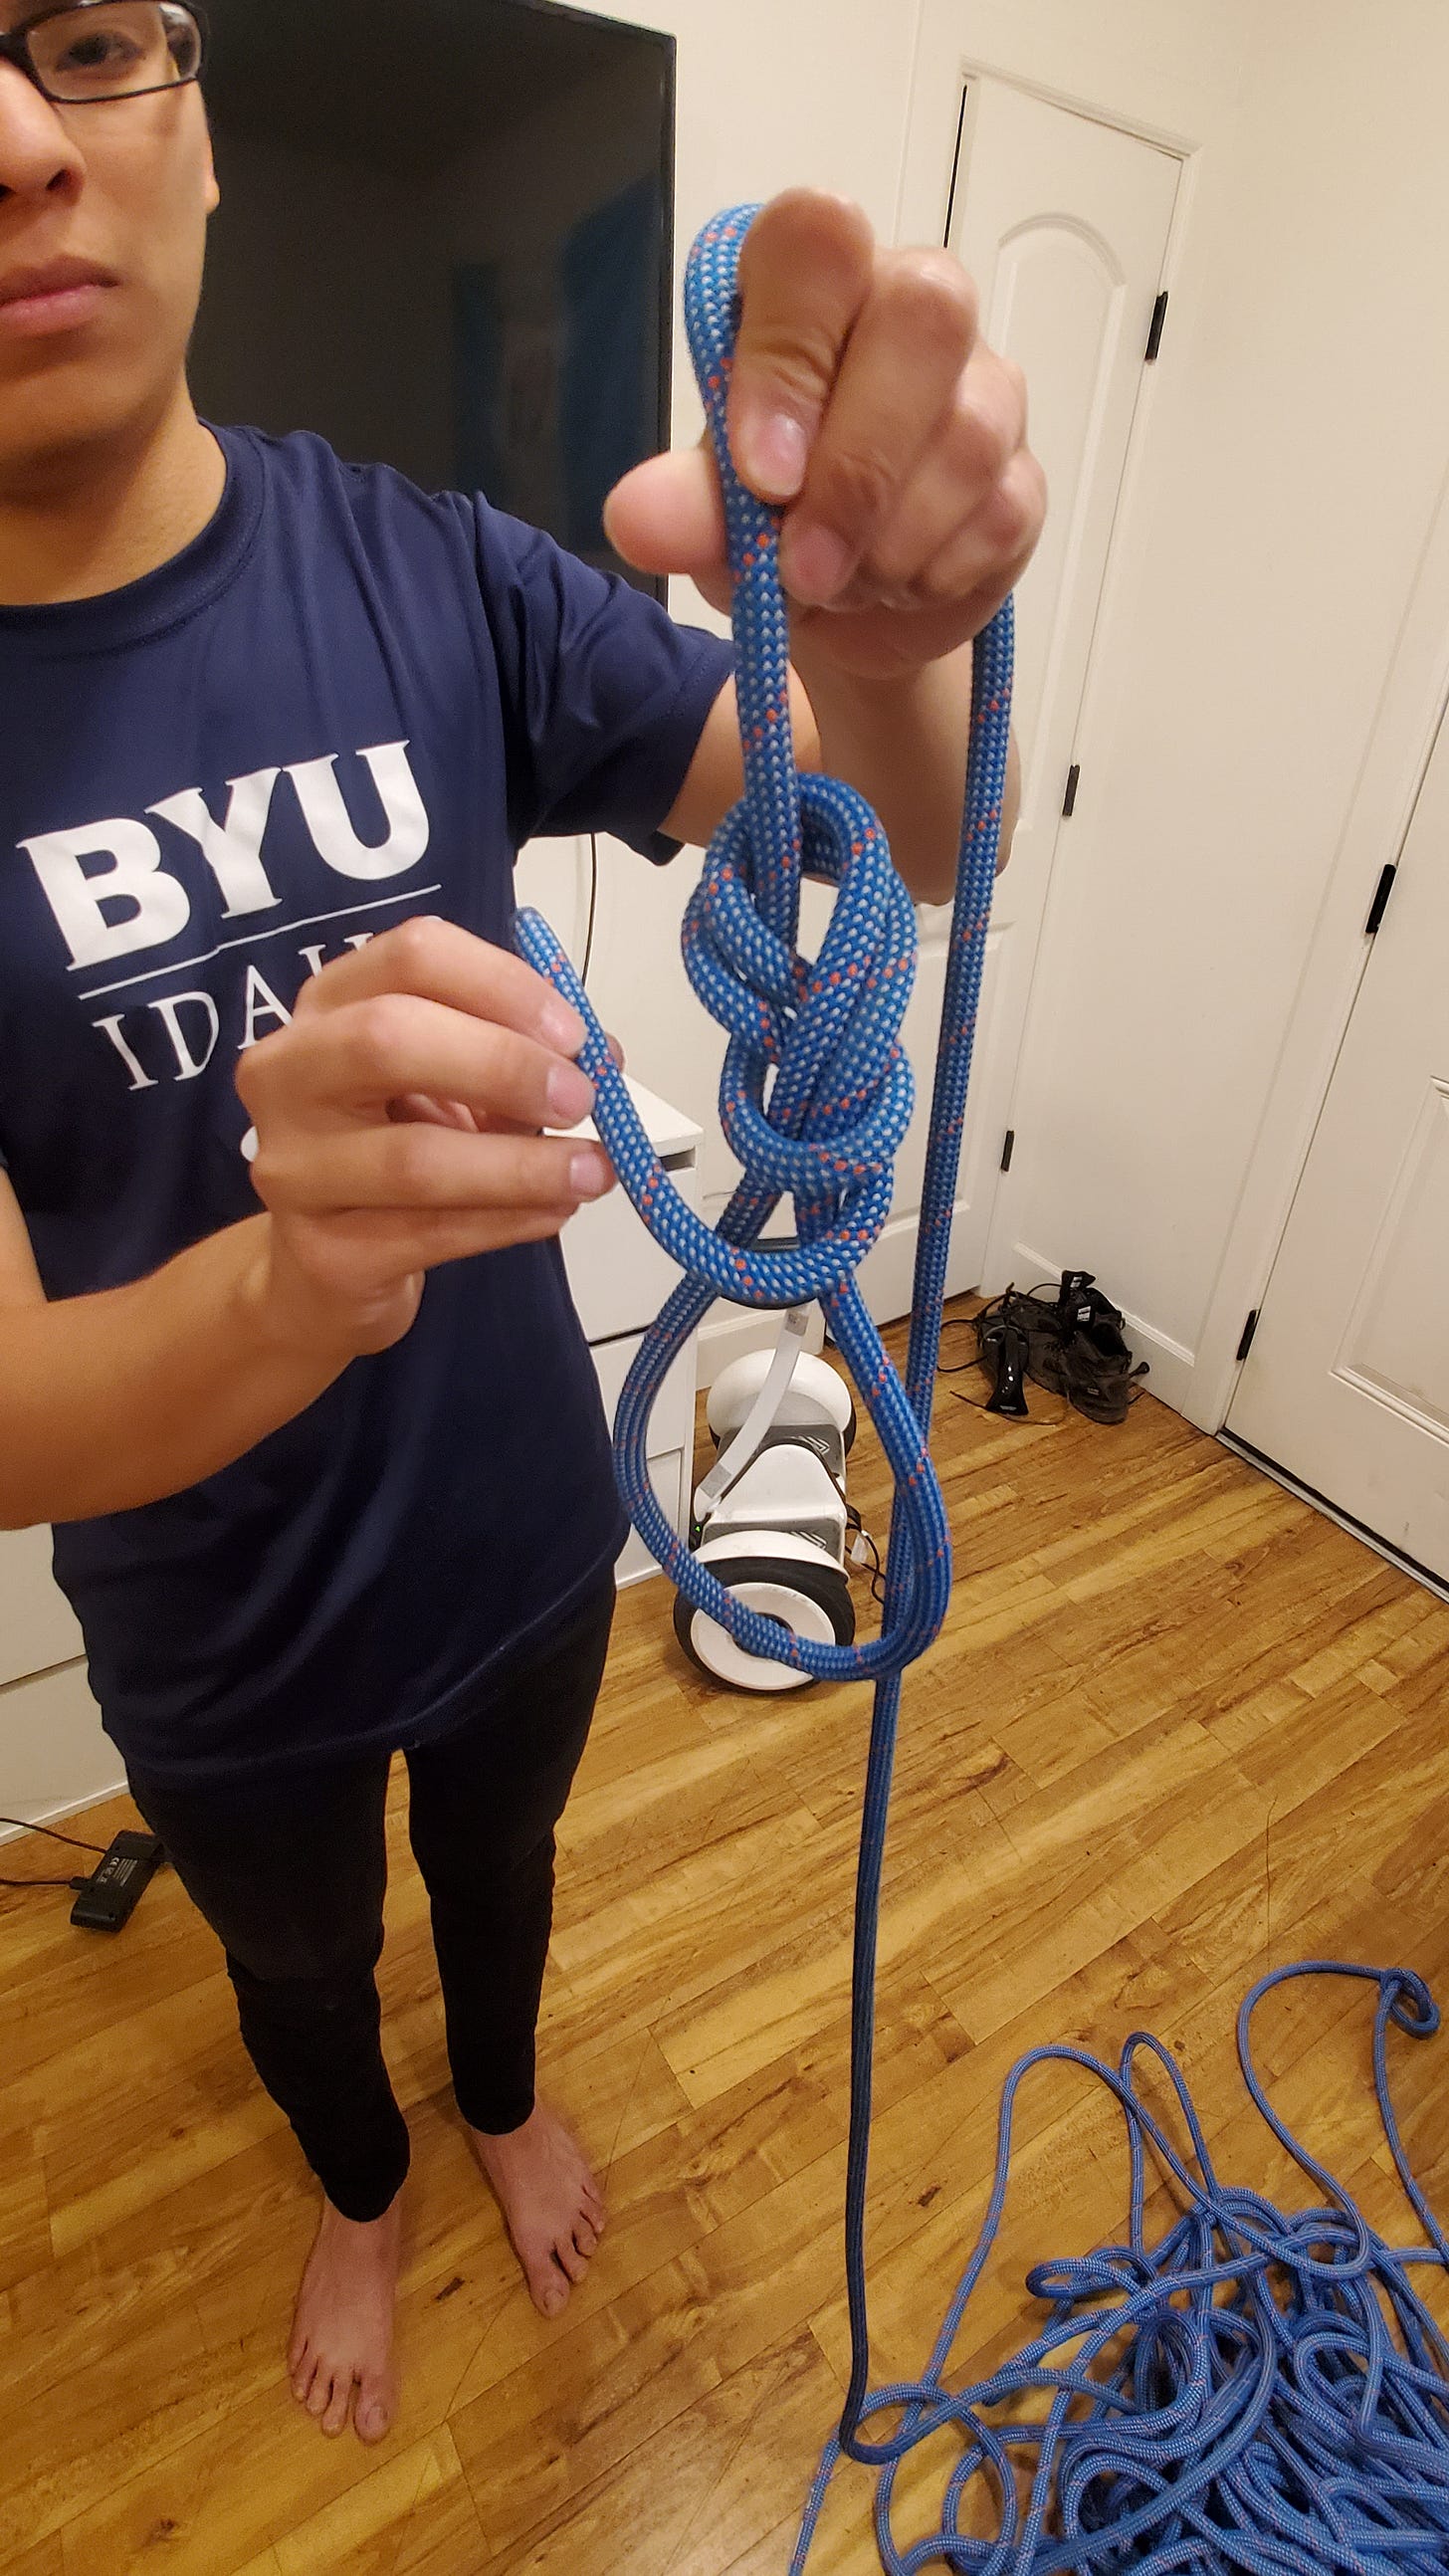
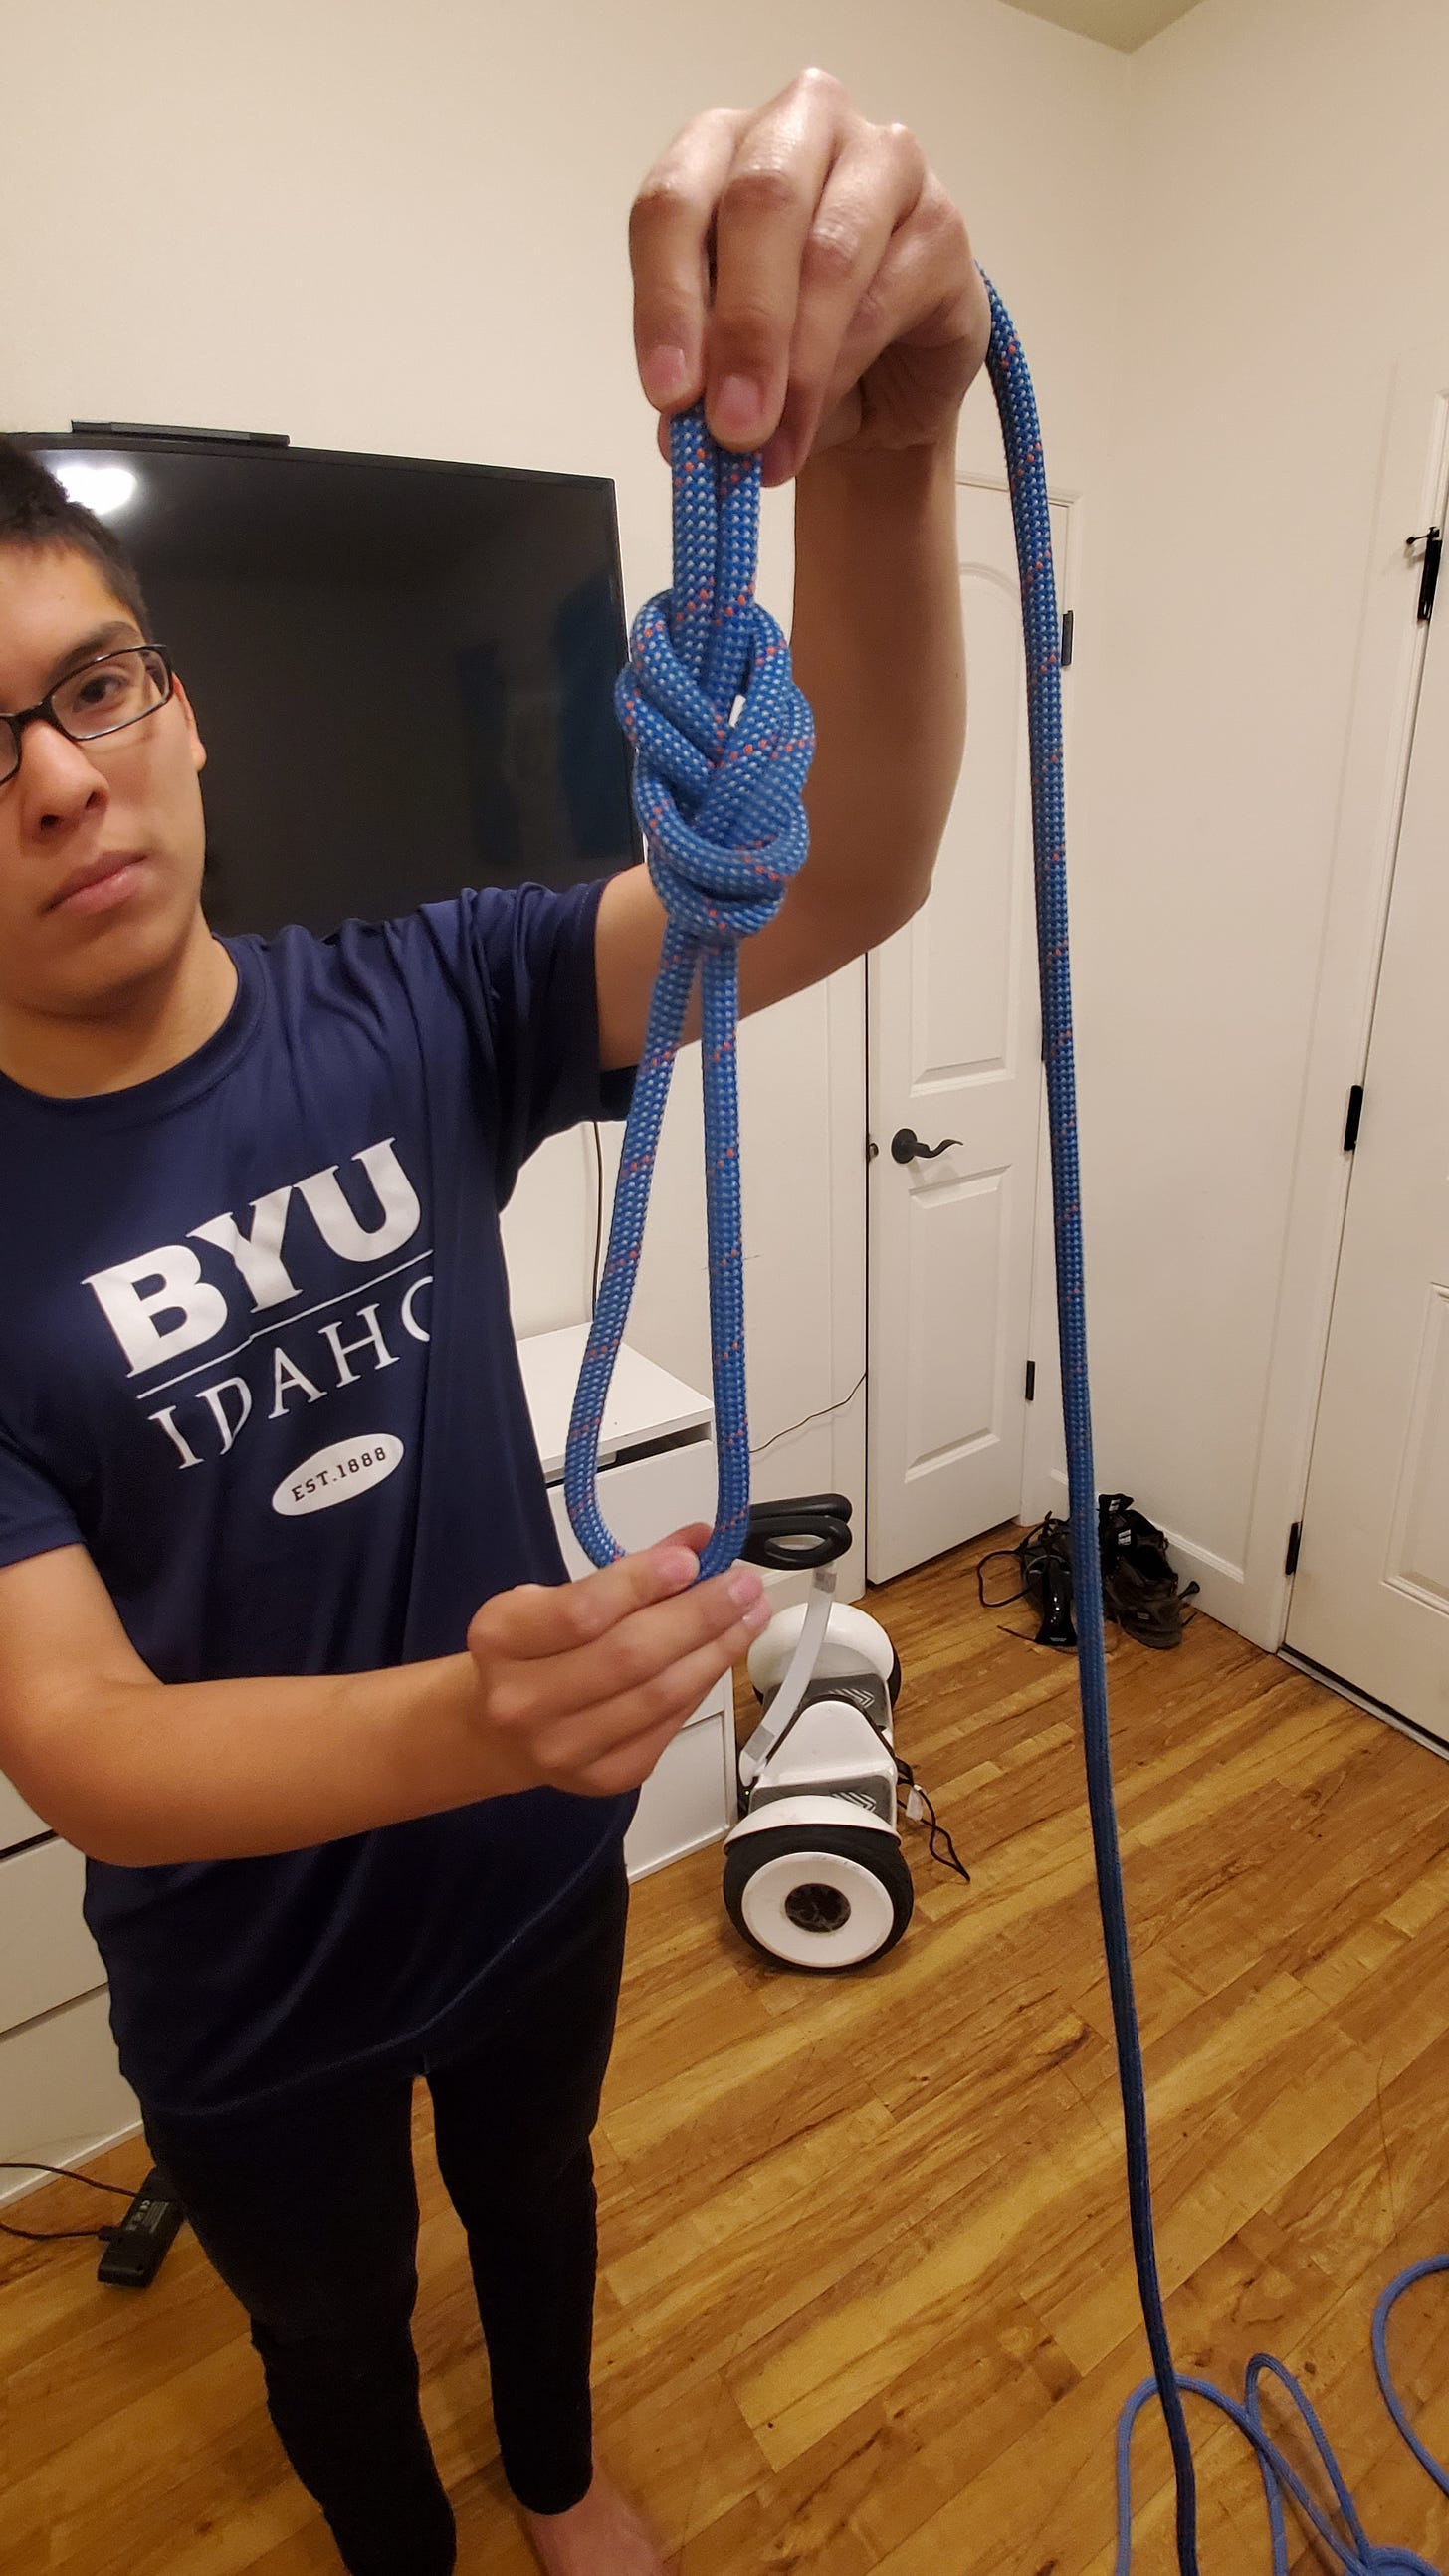
Now take the other end and tie it into your harness using a double figure eight knot.
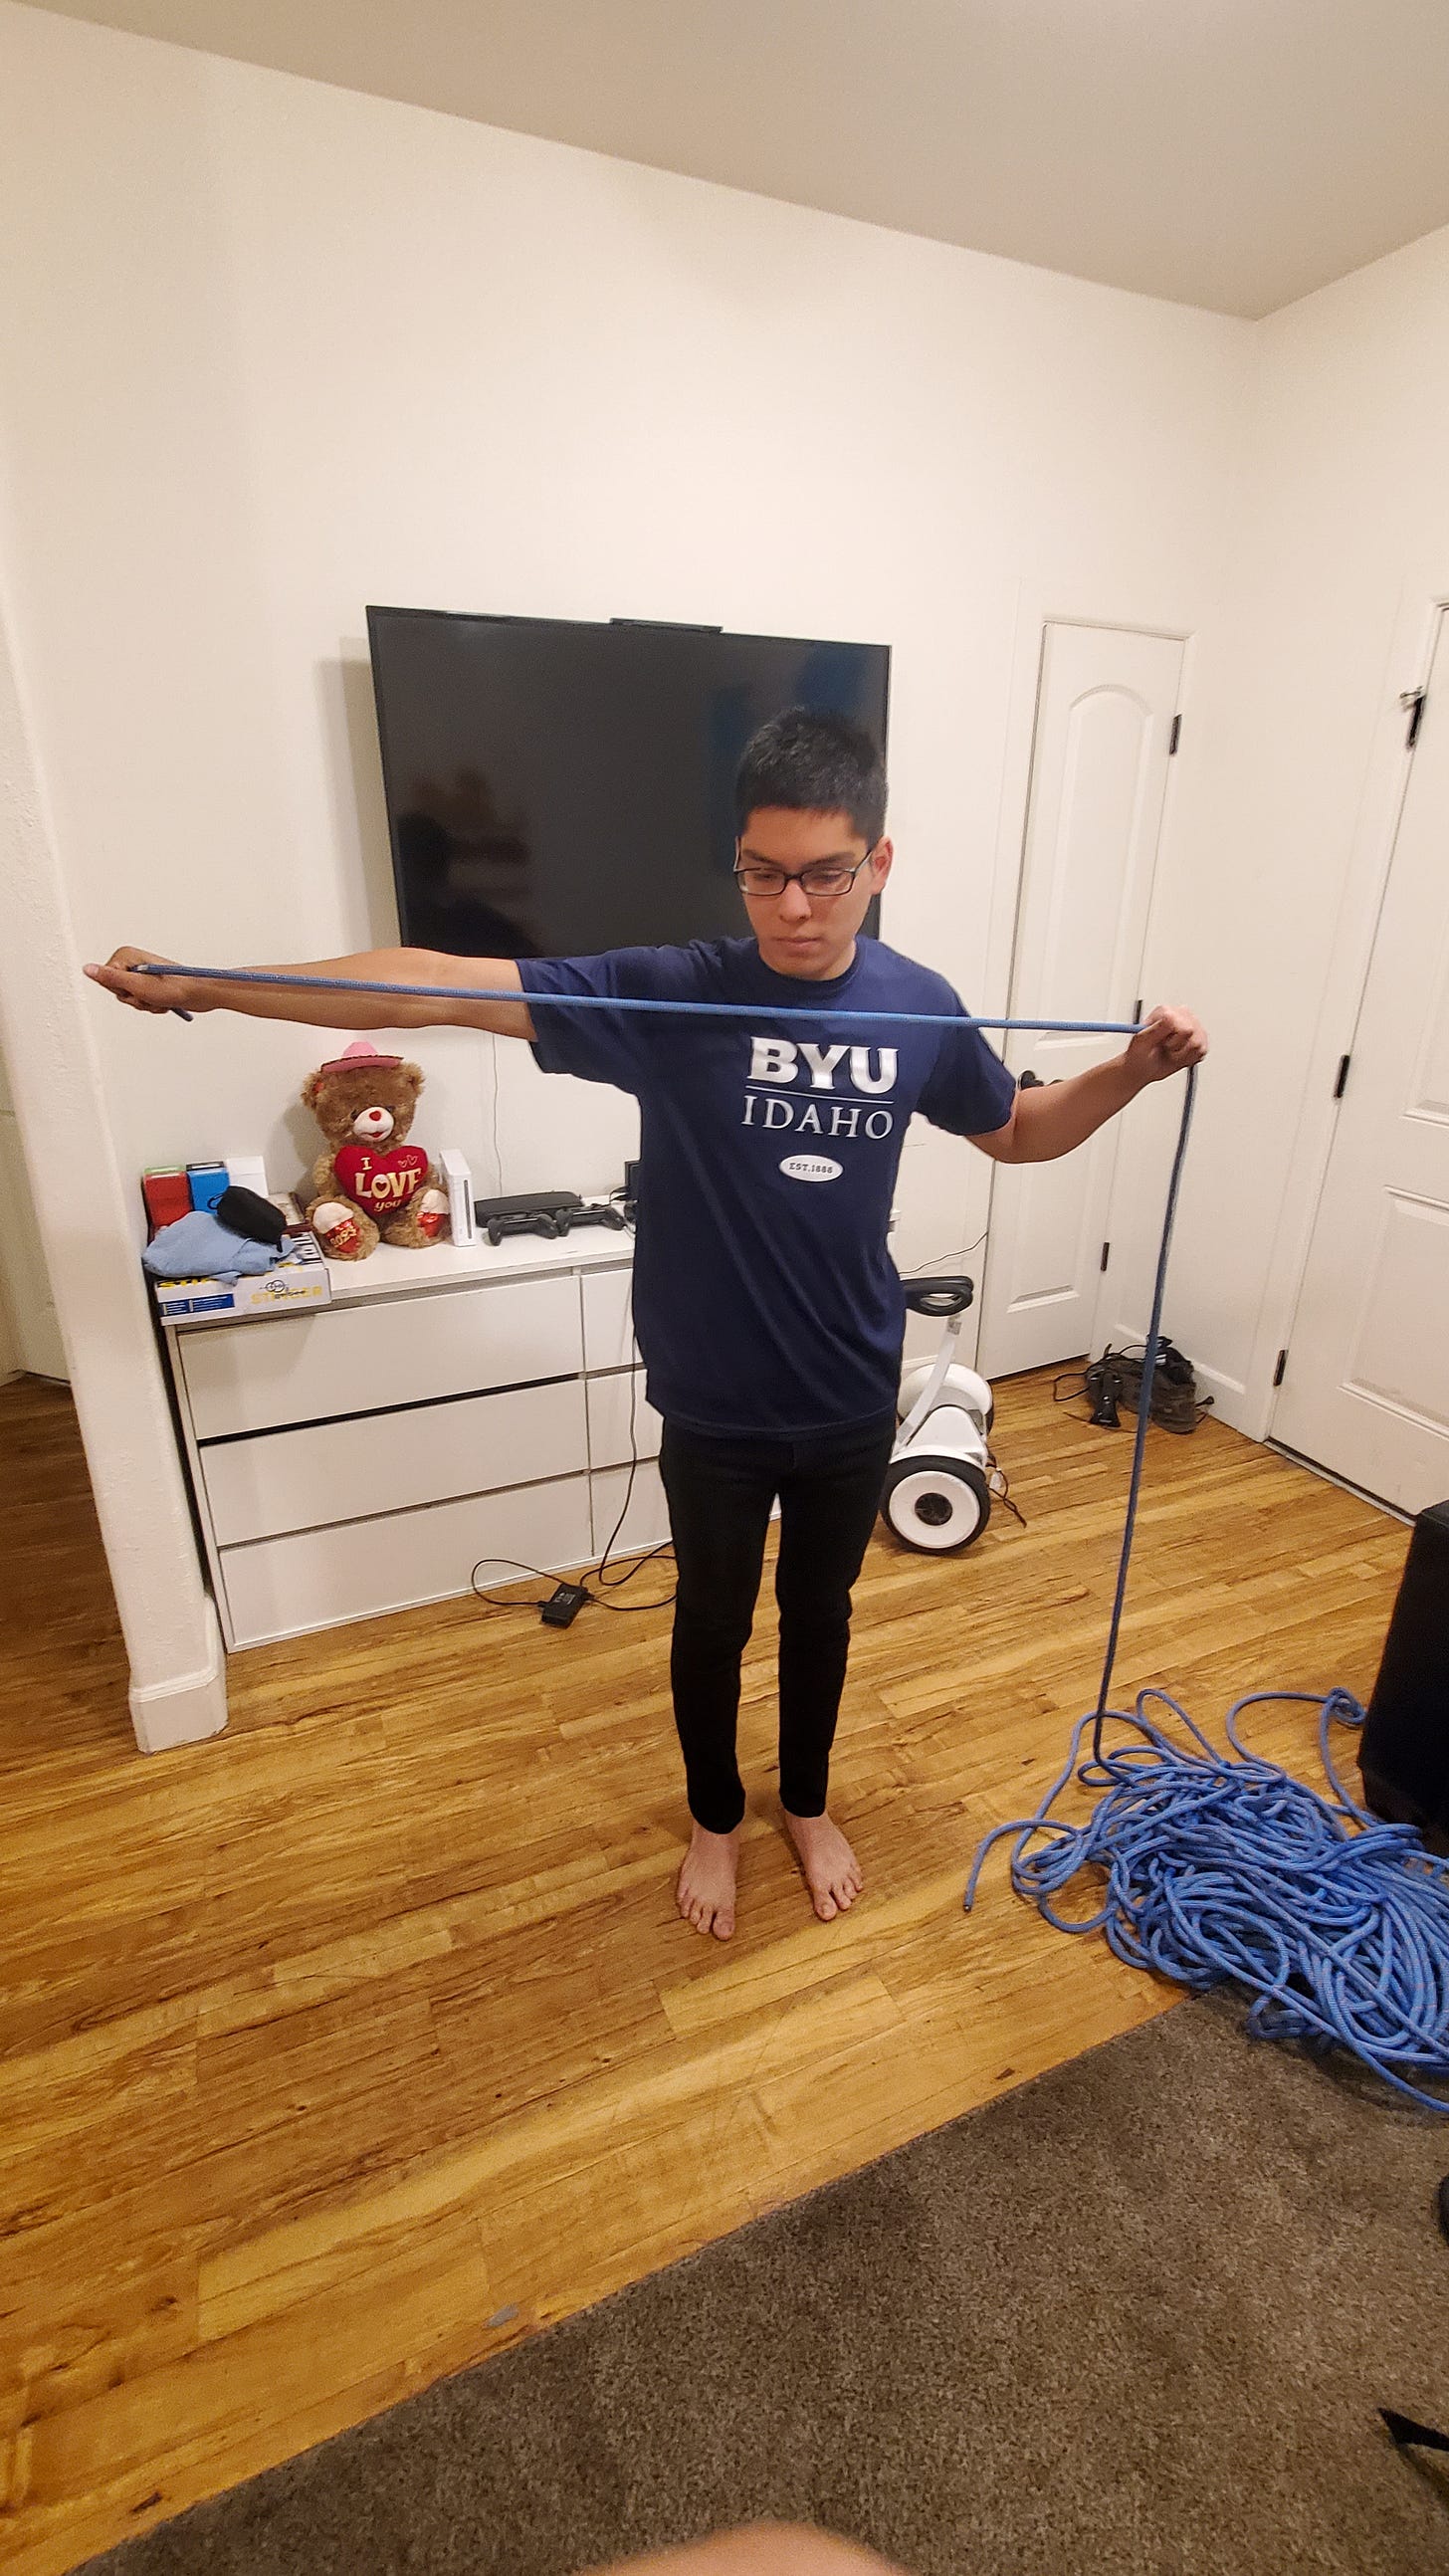
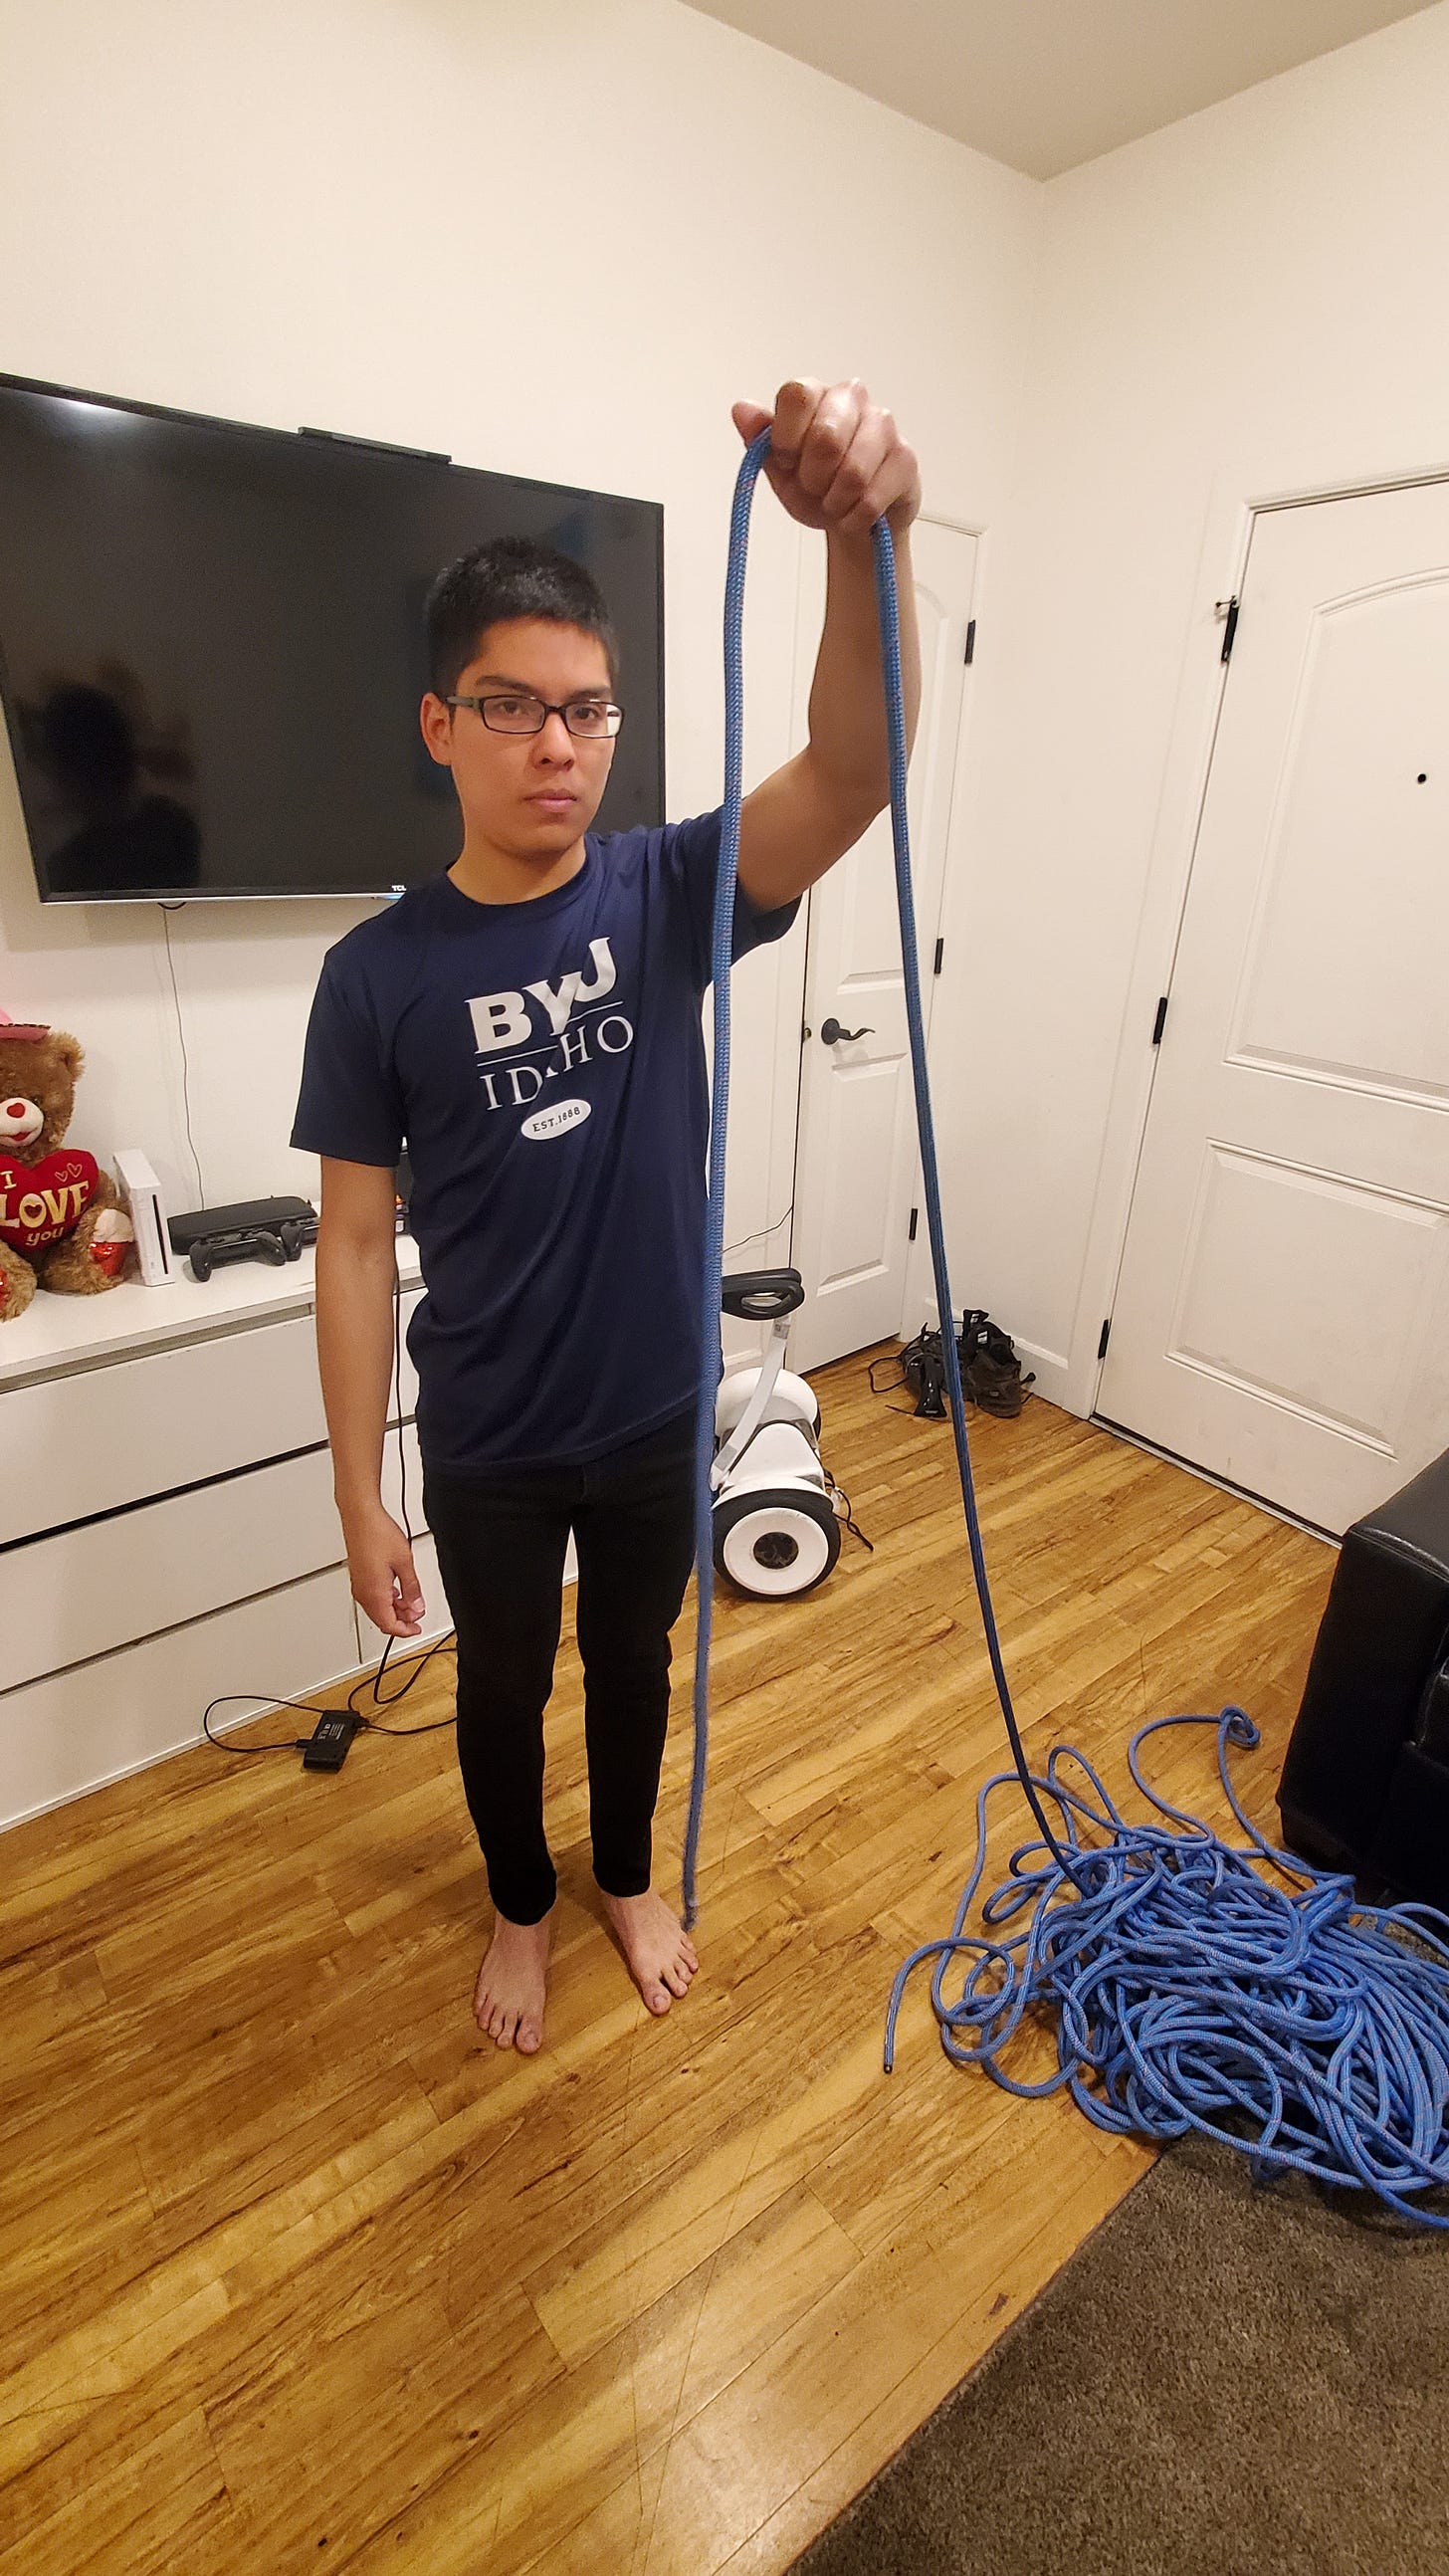
1. Take an arm and half’s length of rope
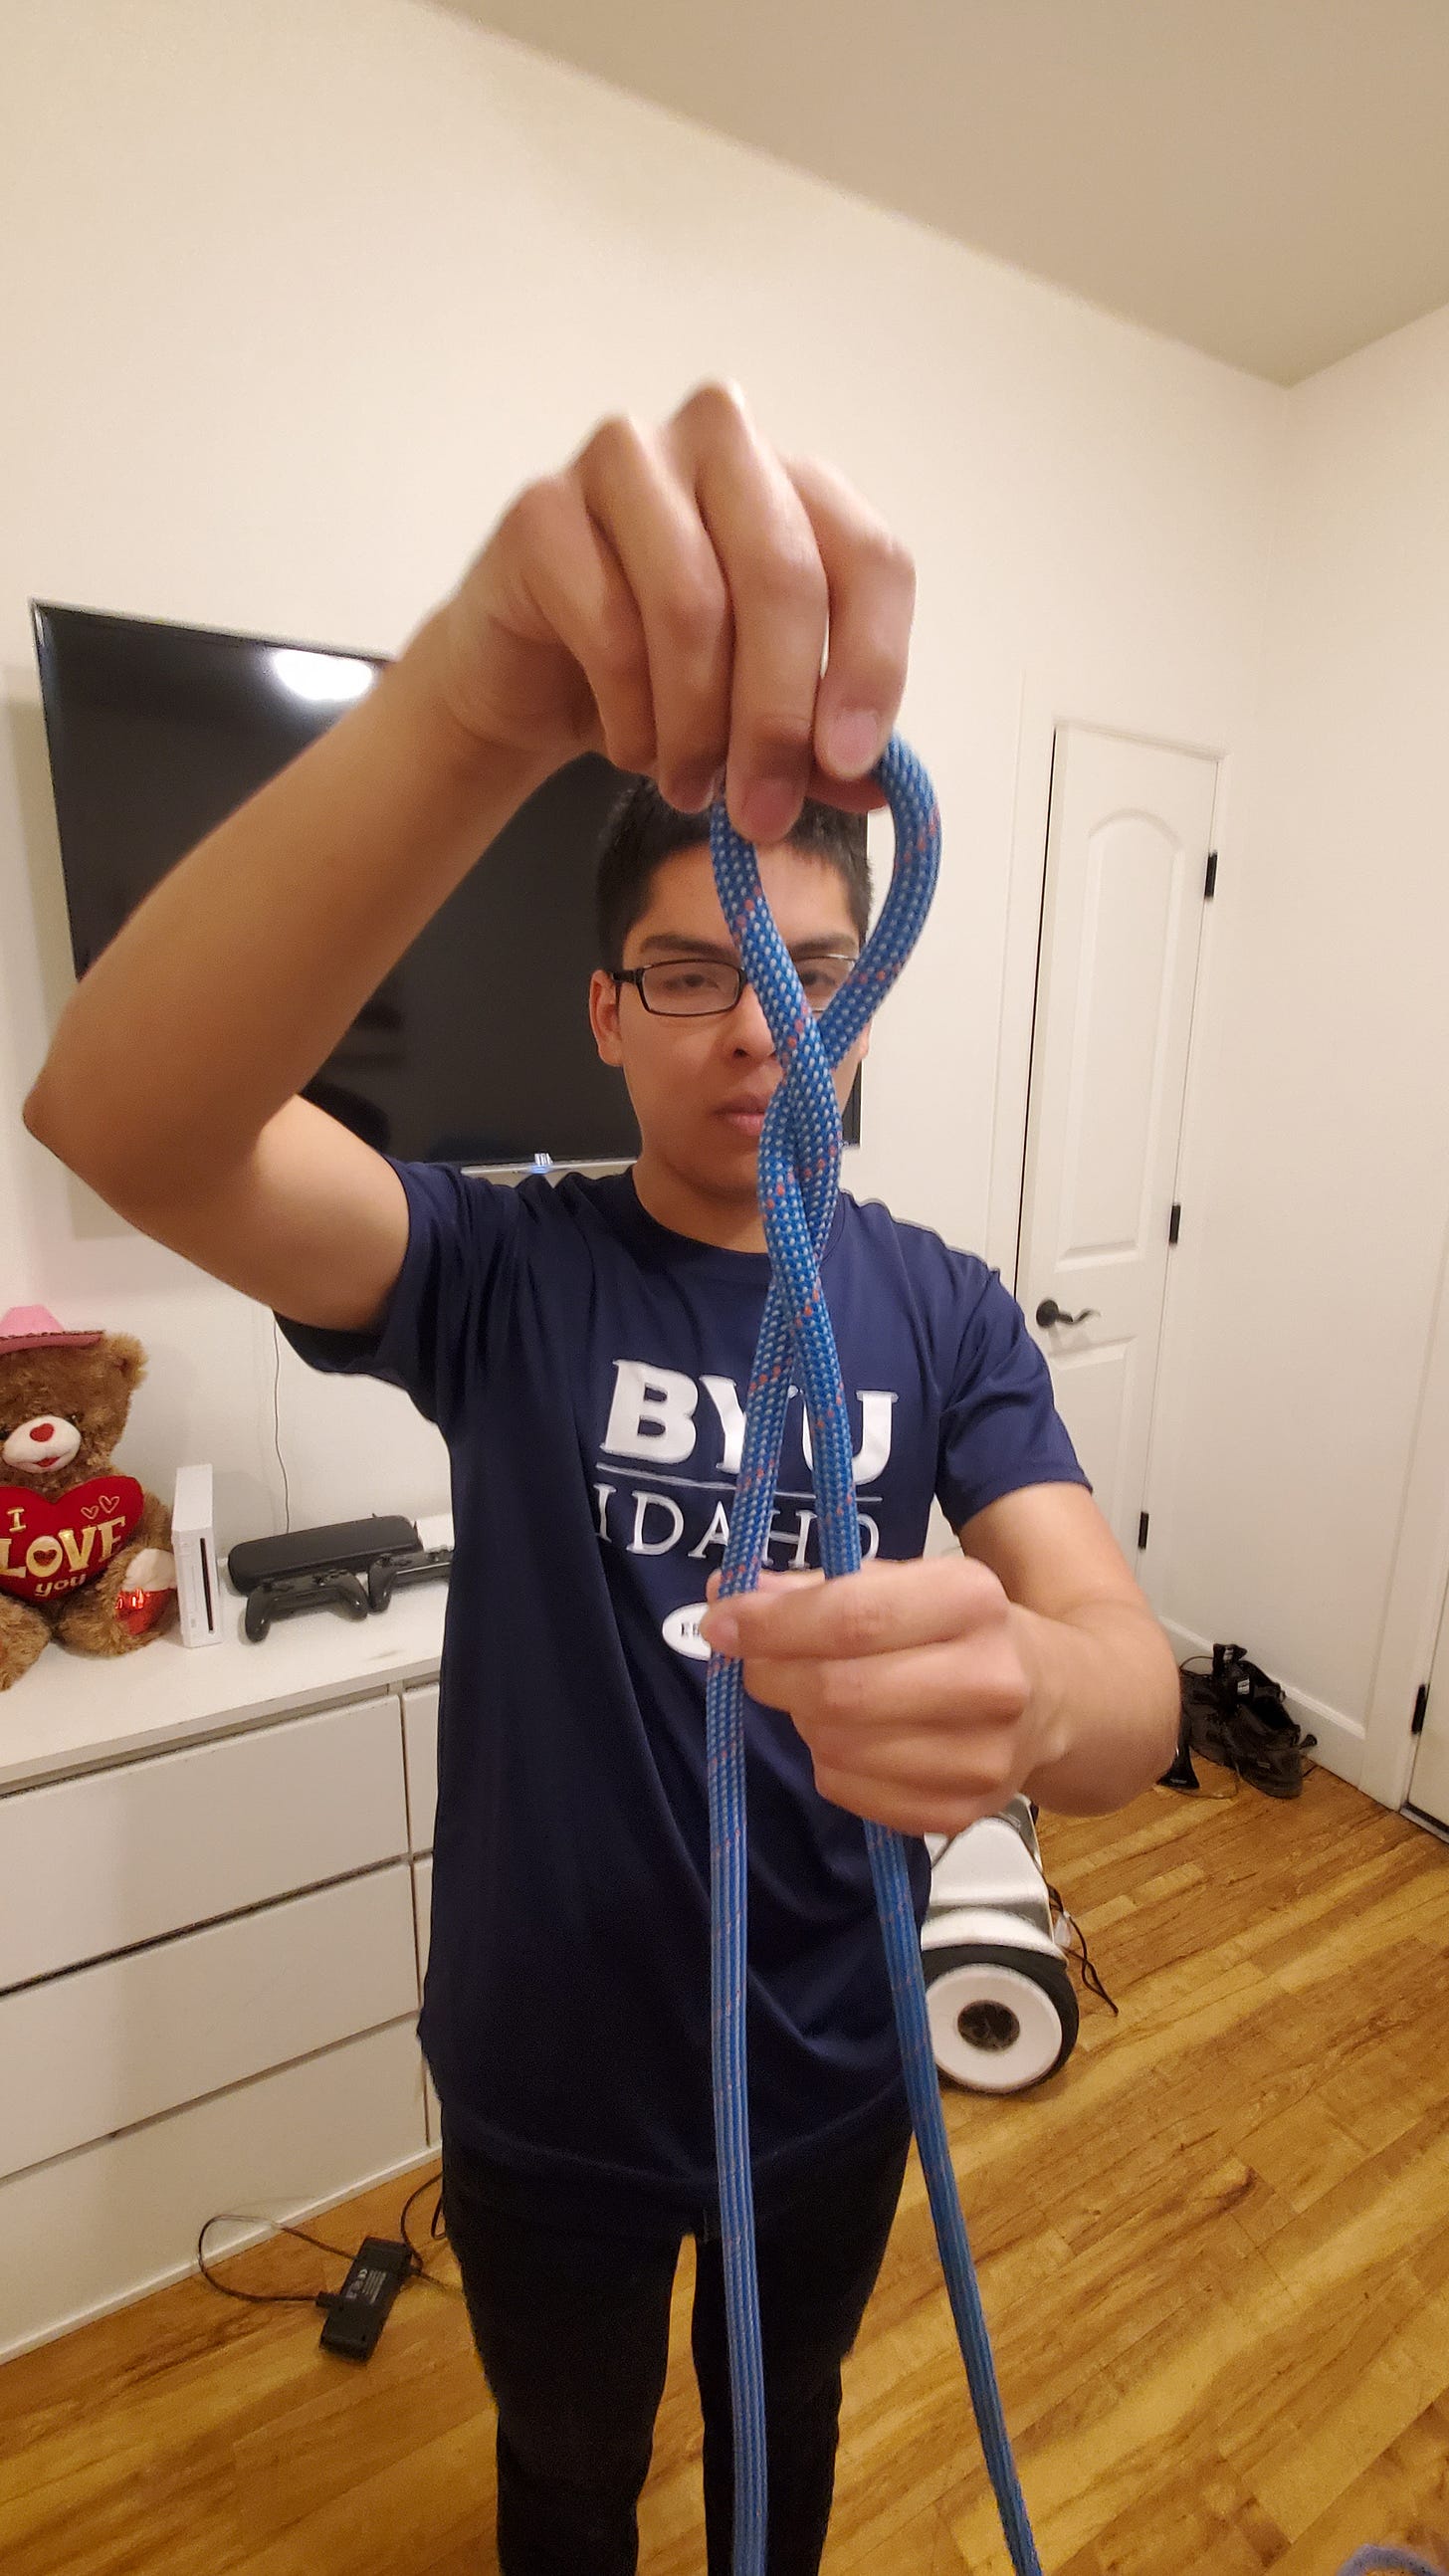
2. Hold the top and twist it twice to make a loop.
3. Take the shorter end of the rope and bring it around the front and through the back of the loop
4. Tighten. Now you have figure eight.
5. Orient your knot so the short end of the rope is facing down and is on the inside of the bottom loop. Have this side face you.
6. Take that shorter end and use it to trace the figure eight. Start by bringing it in from the back of the right side of the bottom loop.
7. Use two of your fingers to check there are five pairs or ten strands of rope throughout the knot. Also make sure no parts of the rope are crossing over each other.
Now that you’re tied in, make sure your belayer has the rope properly attached to their belay device. With your own hands, make sure the locking carabiner holding their belay device to their own harness is locked. Have your belayer inspect your double figure eight.
Before you start climbing, clip as many quickdraws to your harness as you will need for the route. Bring a couple of extras just in case.
How to clip a quickdraw into a bolt
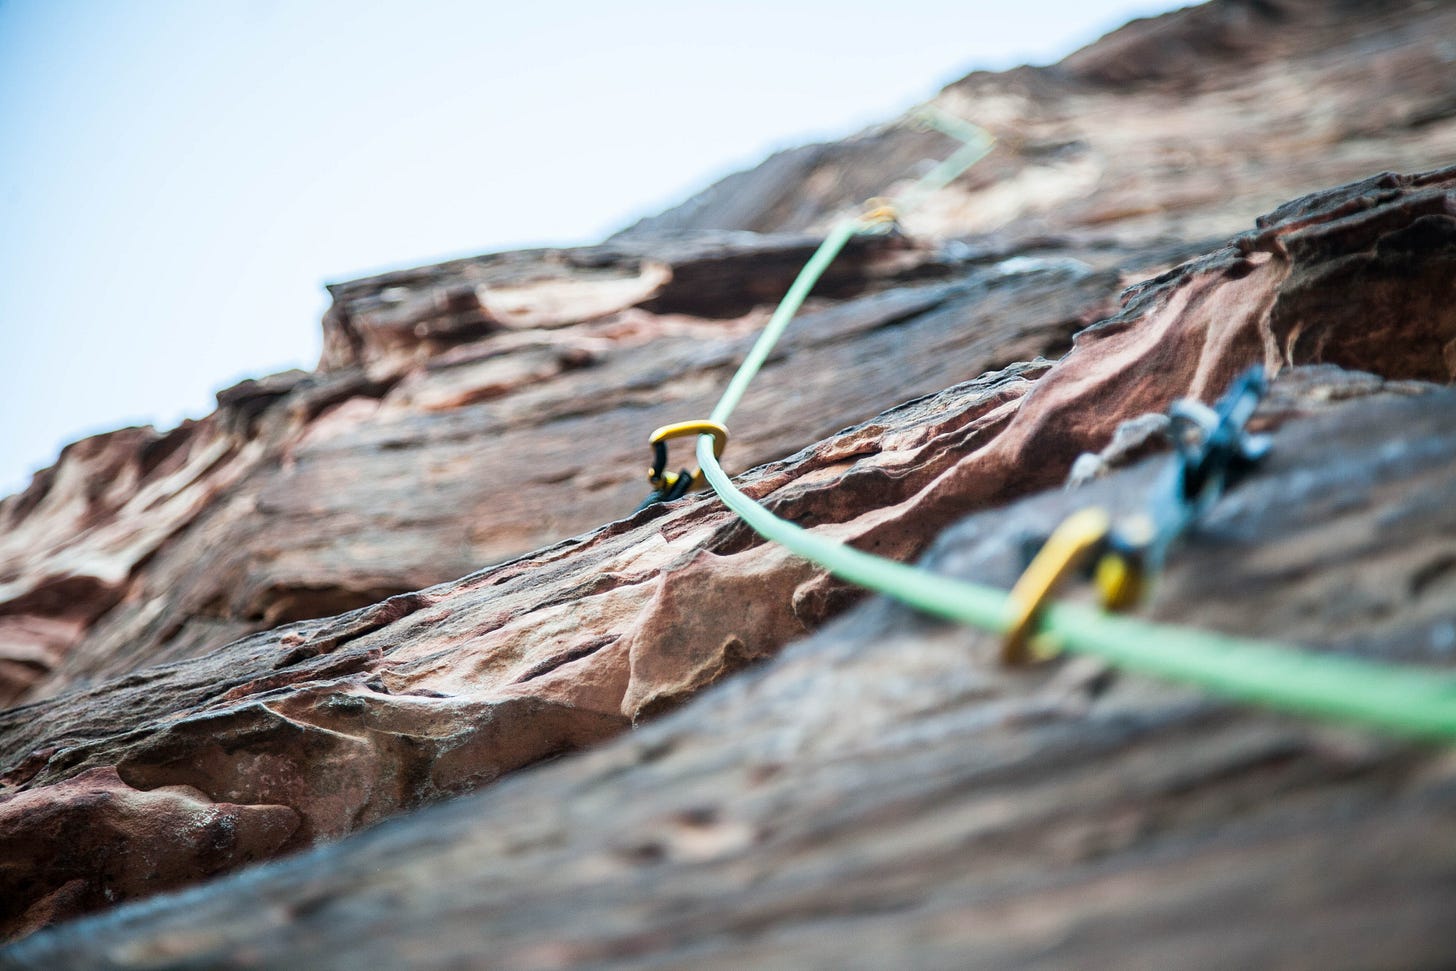
Before you start placing your gear, make sure you are stable and prepared for your belayer to add slack to the rope below you. Clipping a quickdraw into a bolt is straightforward, but keep in mind the direction you plan to travel. The gate must always face away from the direction you climb. So, if after placing a draw, you plan to move right, have the gate face left. Also be sure to clip the tighter end of the draw into the bolt and keep the loose end available for your rope.
How to clip the rope into a quickdraw
Indicate to your belayer that you are ready to clip your rope into the draw. Your belayer will then provide you with enough slack for you to comfortably and efficiently take the rope below you and place it into the lower carabiner of your quickdraw.
To avoid what’s known as “z-clipping”, grab the rope that is immediately below you and above your last quickdraw. It is a common mistake for climbers to take the rope that is actually from below their last quickdraw. Clipping in this part of the rope can lead to an accident. In the event of a fall, you will be caught by your second to last quickdraw as opposed to the last one.
To avoid “back-clipping” and having your rope slip out of your quickdraw in a fall, ensure the rope faces the right direction when you clip it in. As you clip in, the belayer’s end should come from the cliff face towards you, while the end attached to your harness should go from you towards the cliff face. In reverse, this could potentially cause the rope to open the gate of the quickdraw during a fall.
The last thing to keep in mind is how you clip the rope in. Beginner climbers naturally use one or two fingers to push the gate open and then slip the rope inside. This makes the whole process so much harder, stressful and even dangerous if your finger gets stuck.
The best practice is to pinch the band just above the bottom carabiner and then hold the rope in the pit of your thumb. Then use the rope to push the gate open and slide it in there.
Once you have your rope clipped in, indicate that to your belayer who should take slack while leaving enough to allow you to comfortably climb above the draw.
Finishing off
Congrats you make it to the top! Use two quickdraws to attach yourself to the top anchors. The draws need to be opposite and opposed. Opposite means that the gates face opposite directions. Opposed means that you orient the carabiner in a way that if both gates were to open at the same time they would form the shape of an X.
Once you have the quickdraws placed correctly, clip your rope in one quickdraw at a time. This provides you a sturdy top rope anchor from which your belayer can safely lower you.
For more tips, subscribe!
Sources:
Old School Tools - opposite and opposed carabiners — Alpine Savvy
How to Use a Quickdraw: Clipping Techniques | REI Co-op


